Your windows might look fine from the outside, but failing weatherstripping can quietly drain your energy budget and let in drafts, moisture, and noise. Weatherstripping is the flexible seal that runs along window edges and sashes. It fills the gap between the moving parts of your window and the frame. When it fails, your home works harder to stay comfortable.
The good news: replacing weatherstripping is one of the most cost-effective home maintenance tasks you can do. Most homeowners can finish a single window in under an hour with basic tools. This guide covers everything from identifying the type you have to completing the replacement yourself.
Key Takeaways
- Weatherstripping seals the gap between your window sash and frame to block air, water, and noise.
- Four main types exist: foam tape, V-strip (tension seal), felt, and reinforced silicone or rubber.
- Common failure signs include visible drafts, condensation on inner glass edges, higher energy bills, and cracked or compressed material.
- DIY replacement costs $5 to $30 per window in materials. Professional service runs $100 to $300 per window installed.
- Most replacements take 30 to 60 minutes per window with no specialized tools.
- Clean, dry surfaces are the most important factor in how long new weatherstripping lasts.
What Is Window Weatherstripping and Why Does It Matter?
Quick Answer: Window weatherstripping is a flexible sealing material installed along the edges of window sashes and frames. It blocks air leaks, moisture intrusion, and outside noise. Without it, conditioned air escapes and energy bills rise by 10 to 15 percent.
Every window has two components that need to meet tightly: the sash (the part that moves) and the frame (the fixed part). Weatherstripping lives in that meeting point. It compresses when the window closes and springs back when it opens.
The U.S. Department of Energy estimates that drafts from poorly sealed windows and doors can account for 25 to 30 percent of home heating and cooling energy use. Weatherstripping is the first line of defense against that waste.
Beyond energy, weatherstripping also reduces street noise, prevents insects from entering through gaps, and keeps moisture from reaching the window track and frame where mold and rot can develop.
What Are the Different Types of Window Weatherstripping?
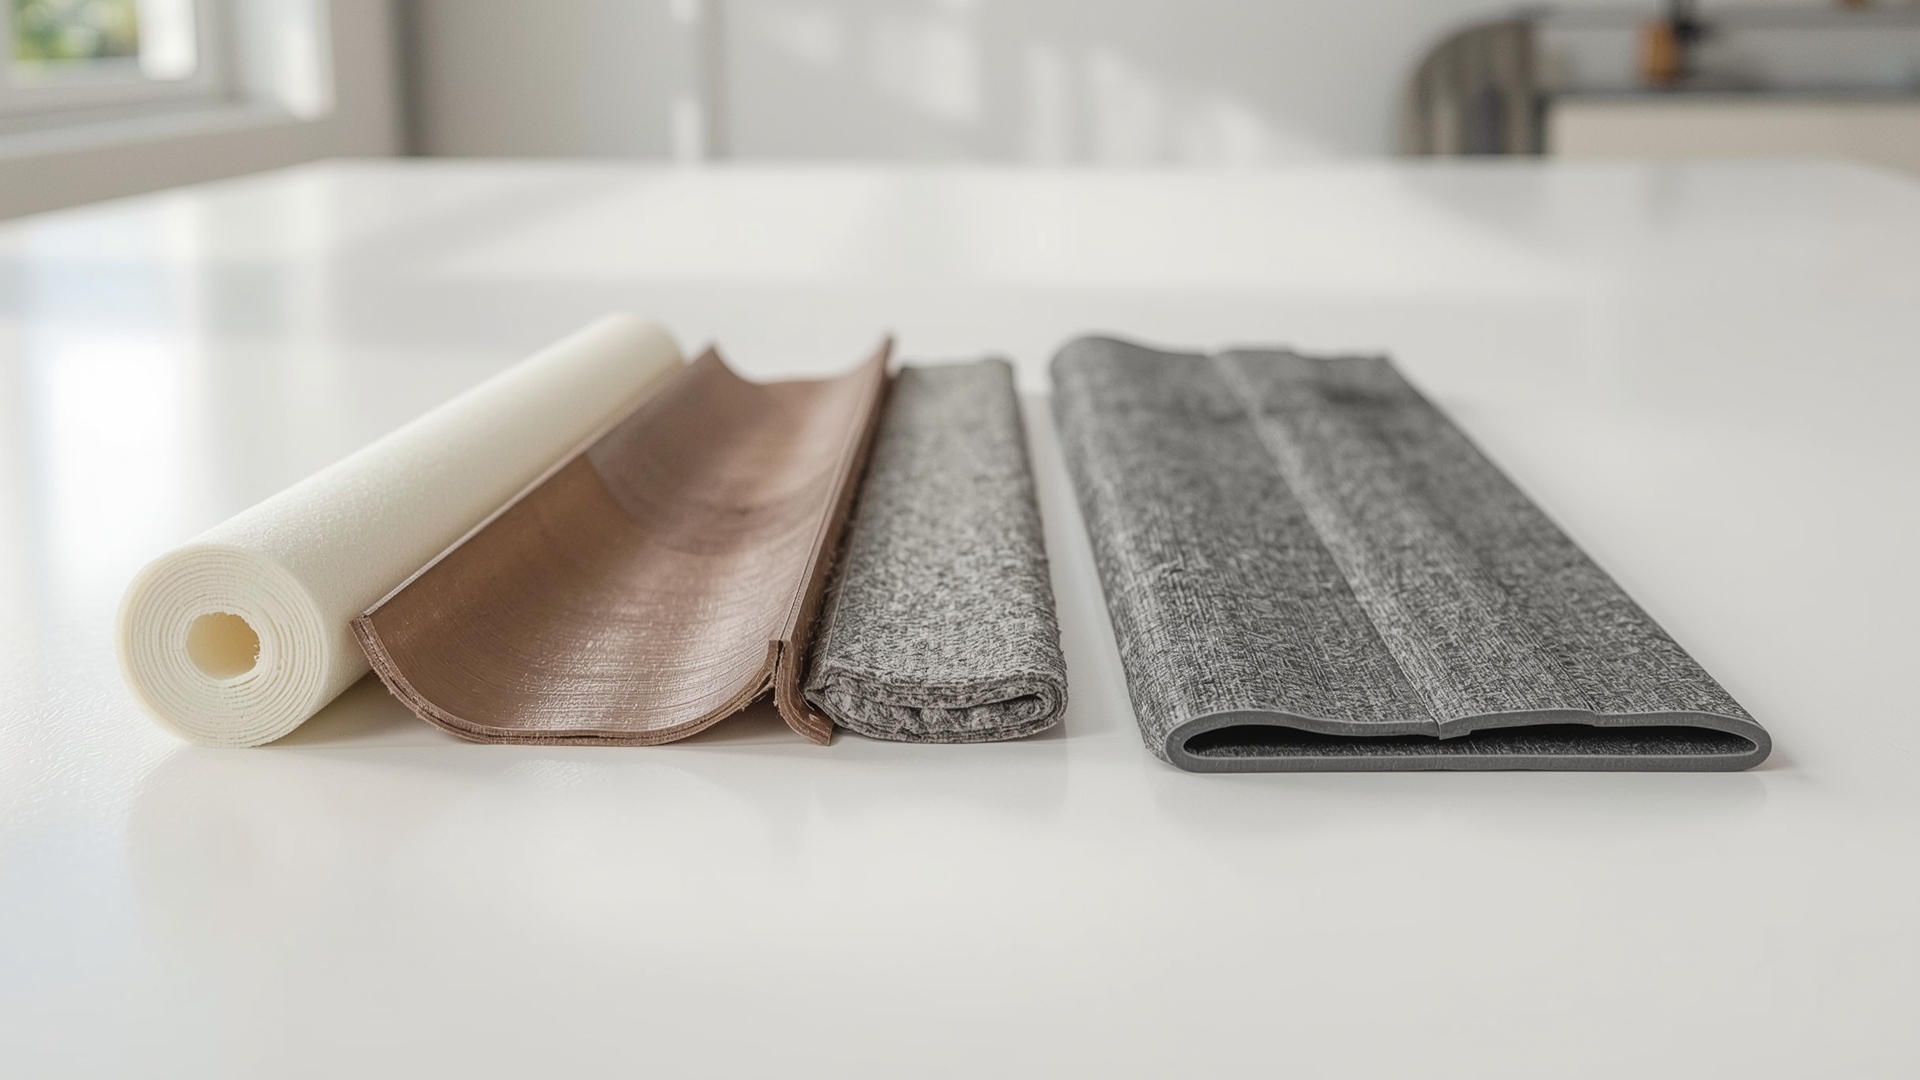
Quick Answer: The five main types are foam tape, V-strip tension seal, felt, reinforced rubber or silicone, and door sweep style compression strips. Each works best in specific locations and for specific window types based on friction, exposure, and gap size.
Foam Tape Weatherstripping
Foam tape is the most widely available and easiest to install. It comes in rolls with a self-adhesive backing. You peel and stick it to the window stop or sash channel. It works best for irregular gaps and low-traffic windows that aren’t opened and closed frequently.
Foam tape compresses over time. In high-use windows, it typically needs replacement every one to three years. It comes in open-cell and closed-cell versions. Closed-cell foam lasts longer and resists moisture better.
V-Strip (Tension Seal) Weatherstripping
V-strip is a folded piece of plastic or metal shaped like a “V.” It installs inside the channel where the sash slides up and down. As the sash moves, the V-strip flexes and maintains pressure against the frame. This makes it excellent for double-hung and single-hung windows.
V-strip is more durable than foam tape. It typically lasts five to ten years and doesn’t lose its shape with repeated use. Metal V-strip (usually aluminum or bronze) outlasts plastic versions by several years.
Felt Weatherstripping
Felt is the oldest type of weatherstripping. It’s inexpensive and easy to cut and staple into window channels. However, felt absorbs moisture, compresses permanently, and deteriorates within two to three years in most climates. It’s best used for interior windows or very low-exposure applications.
Reinforced Rubber and Silicone Strips
These are the most durable options. They come as tubular gaskets, D-profile strips, or bulb seals. Silicone withstands temperature extremes better than rubber. They’re often found on casement and awning windows where the sash presses firmly against the frame when latched. Quality silicone strips last ten to twenty years.
Compression Strips (Kerf-In Style)
Kerf-in weatherstripping slides into a narrow slot (the kerf) routed into the window frame or stop. You can’t use these without the pre-existing slot. They’re common on newer wood and vinyl windows and create an extremely tight seal when the window closes. Replacement requires pulling the old strip out of the slot and pressing a new one in.
| Type | Typical Lifespan | Cost Per Window | Best Window Type | DIY Difficulty |
|---|---|---|---|---|
| Foam Tape | 1 to 3 years | $3 to $8 | Irregularly gapped, low-use | Very easy |
| V-Strip (Plastic) | 3 to 5 years | $5 to $12 | Double-hung, single-hung | Easy |
| V-Strip (Metal/Bronze) | 5 to 10 years | $10 to $20 | Double-hung, sliding | Easy to moderate |
| Felt | 1 to 2 years | $2 to $6 | Interior, low-exposure | Very easy |
| Silicone/Rubber Strip | 10 to 20 years | $12 to $30 | Casement, awning | Moderate |
| Kerf-In Strip | 7 to 15 years | $8 to $18 | Wood, vinyl with kerf slot | Easy (slot required) |
How Do You Know When Window Weatherstripping Needs Replacing?
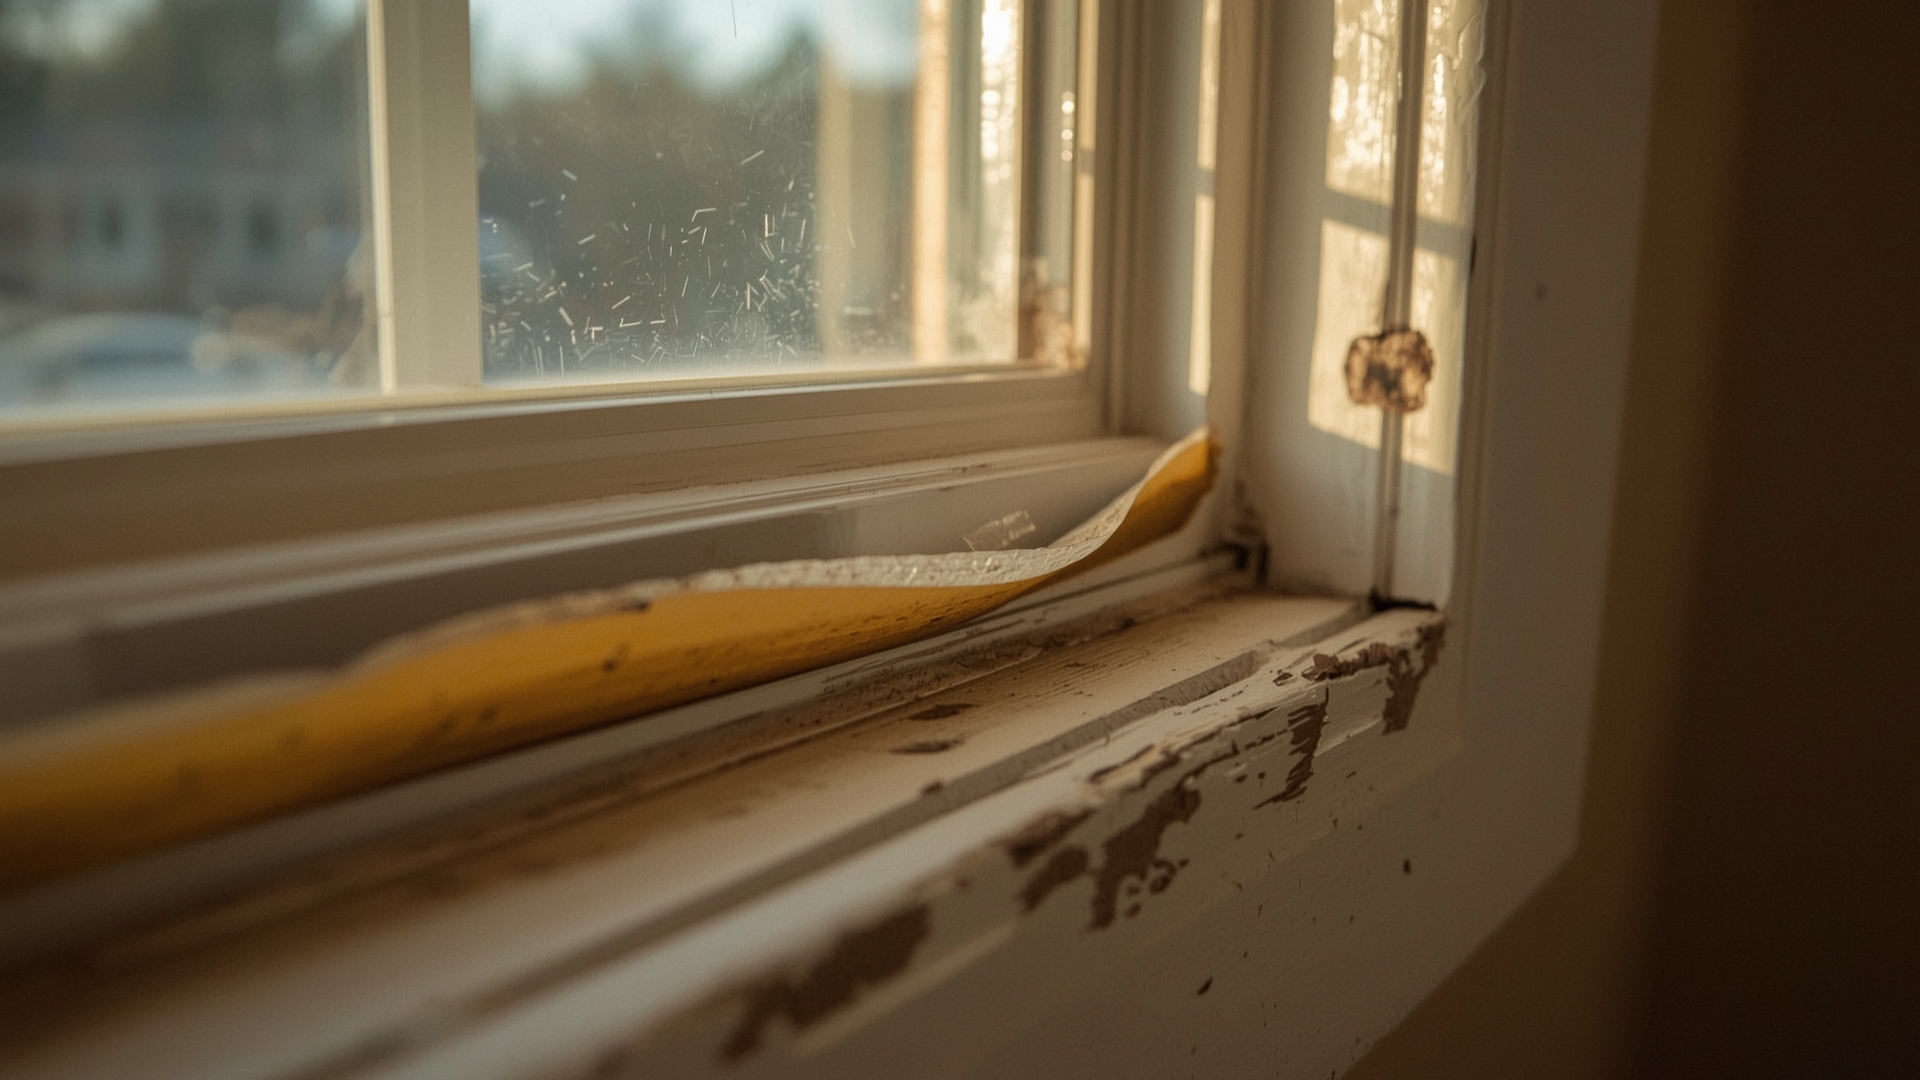
Quick Answer: Signs of failed weatherstripping include visible daylight around the closed window, cold drafts near the sash edges, condensation forming along inner frame edges, rising heating or cooling bills, water intrusion during rain, and material that looks cracked, flat, or brittle.
The Daylight Test
On a bright day, stand inside a darkened room and look around the closed window frame. Any light coming through the edges means the seal is broken. You can also hold a lit incense stick near the window edges. Smoke that wavers or blows sideways indicates airflow through a gap.
The Dollar Bill Test
Close the window on a dollar bill so the bill crosses the sash edge. Pull the bill out slowly. If it slides out with no resistance, the weatherstripping has lost its compression. You should feel noticeable drag. This test works well for casement and double-hung windows.
Visual Inspection Signs
Look directly at the weatherstripping material. Healthy weatherstripping is flexible and bounces back when pressed. Failed weatherstripping shows these visible clues:
- Cracks or splits along the surface
- Permanent flattening with no spring-back
- Brittleness that causes it to break when bent
- Missing sections or gaps between strips
- Mold or discoloration from moisture absorption (common in felt)
Energy Bill Spike
A sudden increase in heating or cooling costs without a change in usage habits often points to air sealing failure somewhere in the building envelope. If you’ve already checked your attic insulation and doors, windows are the next suspect. Weatherstripping and window caulking work together. Checking both at the same time saves you from diagnosing the same problem twice.
| Symptom | Likely Cause | Urgency Level | Check Also |
|---|---|---|---|
| Visible daylight around sash | Compressed or missing strip | High | Window alignment |
| Cold draft near frame edges | Cracked or detached strip | High | Window caulking |
| Inner edge condensation | Warm air reaching cold glass edge | Medium | Indoor humidity levels |
| Water on windowsill after rain | Failed top or side seal | High | Window flashing |
| Rising energy bills | Multiple gap sources | Medium | Door seals, attic insulation |
| Increased outside noise | Gap in compression seal | Low | Window glass thickness |
What Tools and Materials Do You Need for Weatherstripping Replacement?
Quick Answer: You need the replacement weatherstripping material, a utility knife, a putty knife or thin scraper, rubbing alcohol, a clean cloth, scissors, and optionally a hair dryer to warm stubborn adhesive. No power tools are required for most window types.
Tools Checklist
- Utility knife: for cutting strips to length cleanly
- Putty knife or plastic scraper: for removing old adhesive strips without scratching the frame
- Rubbing alcohol (70% or higher): for cleaning surfaces before installation
- Clean lint-free cloth: for surface prep
- Tape measure: for measuring strip lengths accurately
- Scissors: for cutting foam tape and felt
- Hammer and tack nails: if using nail-on V-strip or felt
- Hair dryer (optional): to soften old adhesive for easier removal
How to Match the Right Replacement Strip
Bring a section of the old weatherstripping to the hardware store if possible. Match the profile shape, thickness, and width. For kerf-in strips, measure the slot width (usually 3/16 inch or 1/4 inch). For foam tape, match the gap size — the tape should compress by roughly 25 percent when the window closes.
If you’re unsure of your window type, check the manufacturer’s label on the window frame. Many window brands sell branded replacement weatherstripping kits sized for their specific frames.
How Do You Replace Window Weatherstripping Step by Step?

Quick Answer: Remove the old strip, clean and dry the surface completely, cut the new strip to length, press or nail it into place, and test the window seal. The full process takes 30 to 60 minutes per window and requires no power tools for most residential window types.
Step 1: Remove the Old Weatherstripping
Start by fully opening the window to access all edges. Peel or pull away any adhesive-backed foam or felt. Use your putty knife to scrape off any remaining adhesive. For nail-on strips, use the putty knife to pry up the edges and pull out the nails carefully. For kerf-in strips, grip the end with pliers and pull straight out of the slot.
Take your time here. Rushing this step often damages the window frame, especially on older wood windows. A hair dryer on low heat softens stubborn adhesive without damaging paint or vinyl.
Step 2: Clean the Surface Thoroughly
This step is the most overlooked and the most important. Any dust, oil, moisture, or old adhesive residue on the frame will prevent the new weatherstripping from bonding properly.
Wipe the entire channel or surface with rubbing alcohol on a clean cloth. Let it dry completely before moving forward. If the surface feels tacky after drying, wipe it again. On warm days, surface preparation takes about five minutes. In cold or humid conditions, allow ten minutes of drying time.
Step 3: Measure and Cut the New Strip
Measure each side of the window opening separately. Windows are rarely perfectly square, so treating each side as unique gives you a tighter fit. Cut strips about 1/8 inch longer than your measurement. This slight excess compresses into the corners and eliminates gaps at the joints.
For V-strip, cut the corners at a 45-degree angle where two strips meet. This creates a miter joint that seals the corner much better than a straight cut.
Step 4: Install the New Weatherstripping
Installation varies slightly by type:
- Foam tape: Peel the backing and press firmly into place along the window stop. Apply steady pressure for 30 seconds per section. Start at one corner and work in one direction to avoid bubbles.
- V-strip: For adhesive-backed versions, peel and press into the sash channel with the open side of the V facing outward. For nail-on versions, tack in place every 2 to 3 inches with small tack nails.
- Kerf-in strip: Press the spine of the strip into the kerf slot, starting at one end. Use a wooden block and mallet to seat it fully if it’s tight.
- Rubber or silicone gasket: These are usually screwed or stapled to the window stop. Align carefully before fastening to ensure even contact when the window closes.
Step 5: Test the Seal
Close the window and perform the dollar bill test again. You should feel clear resistance when pulling the bill out. Check all four sides. Look for any sections where the strip has bunched up or pulled away. Press any lifted edges firmly for 30 seconds.
Open and close the window several times. The operation should feel smooth, not sticky. If the window is hard to close, the weatherstripping may be too thick or positioned too far into the frame opening.
| Window Type | Best Weatherstripping | Install Location | Avg. Time Per Window |
|---|---|---|---|
| Double-hung | V-strip (bronze or plastic) | Side sash channels, top and bottom rails | 45 to 60 min |
| Single-hung | V-strip + foam tape | Moving sash channel, bottom rail | 30 to 45 min |
| Casement | Rubber or silicone gasket | Perimeter of sash stop | 30 to 45 min |
| Awning | Silicone tubular strip | Top and side stops | 30 to 40 min |
| Sliding | Pile weatherstrip (brush seal) | Top and bottom sash tracks | 30 to 45 min |
| Fixed (picture window) | Not applicable (no moving sash) | Perimeter caulking only | N/A |
What Does Weatherstripping Replacement Cost?
Quick Answer: DIY weatherstripping replacement costs $5 to $30 per window in materials. Professional installation costs $100 to $300 per window including labor. A full house of 15 windows runs $75 to $450 DIY versus $1,500 to $4,500 professionally installed.
DIY Material Costs
Foam tape rolls covering 10 to 17 feet cost $4 to $8 at most hardware stores. A roll typically handles one to two standard windows. Bronze V-strip in a 17-foot roll costs $10 to $18. Silicone door and window gasket sets for casement windows run $15 to $30 per window kit.
If you’re replacing weatherstripping on multiple windows in one session, the per-window cost drops significantly. A single roll of V-strip can handle three to four double-hung windows depending on size.
Professional Service Costs
Hiring a window contractor or handyperson adds labor costs of $60 to $100 per hour. A professional can typically complete two to three windows per hour. Most companies charge a minimum service call fee of $75 to $125 even for small jobs.
Professional service makes sense when the window frames are damaged, when you have many windows on upper floors, or when the windows require kerf-in strips that need special tooling to seat properly. For straightforward foam tape or V-strip replacement on accessible windows, DIY delivers the same result at a fraction of the cost.
| Scenario | DIY Cost | Professional Cost | Time Required |
|---|---|---|---|
| Single window (foam tape) | $4 to $8 | $100 to $150 | 30 min DIY |
| Single window (V-strip) | $10 to $20 | $120 to $180 | 45 to 60 min DIY |
| Single window (silicone gasket) | $15 to $30 | $150 to $250 | 45 to 60 min DIY |
| 5-window home project | $30 to $80 | $500 to $900 | Half day DIY |
| 15-window whole house | $75 to $450 | $1,500 to $4,500 | One to two days DIY |
How Do You Make Weatherstripping Last Longer?
Quick Answer: Clean window channels twice a year to remove grit that causes wear. Avoid slamming windows, which compresses and cracks strips prematurely. In freezing climates, apply a silicone spray lubricant to rubber and silicone strips every fall to prevent them from sticking or cracking in cold temperatures.
Seasonal Maintenance Habits
Each spring and fall, spend five minutes per window inspecting the weatherstripping. Look for lifting edges, cracks, or areas where the strip has separated from the surface. Catching a small failure early prevents moisture from reaching the window frame wood or interior drywall.
Clean the window channels and sash tracks with a stiff brush and vacuum before each season. Debris and grit trapped in the channel acts like sandpaper against the weatherstripping material every time you open or close the window.
Lubrication for Rubber and Silicone Strips
Apply a thin coat of silicone spray (not petroleum-based products) to rubber and silicone weatherstripping each fall. Silicone spray keeps the material flexible in cold temperatures and prevents it from sticking to the opposite surface when the window is left closed for long periods.
Never use WD-40 or similar petroleum lubricants on weatherstripping. Petroleum products degrade rubber over time, causing cracking and swelling that shortens the material’s lifespan by several years.
When to Replace vs. When to Repair
A lifted corner of foam tape can be reglued with contact cement. A small section of V-strip that has flattened can be re-opened with a screwdriver tip. These spot fixes are worthwhile if the rest of the strip is in good condition. If more than 30 percent of a strip shows wear or damage, full replacement is more cost-effective than repeated spot repairs.
When Should You Call a Professional Instead of DIY?
Quick Answer: Call a professional when the window frame itself is rotted or warped, when kerf slots are damaged and need re-routing, when windows are above ground floor and difficult to access safely, or when the window is under manufacturer warranty and DIY repair could void coverage.
Frame Damage Beyond Weatherstripping
Weatherstripping sits inside or against the window frame. If the frame itself is soft, swollen, or shows signs of rot, replacing the strip alone won’t fix the underlying problem. A window contractor can assess whether the frame needs repair, partial replacement, or full window replacement before the new weatherstripping is installed.
Warranty Considerations
Many windows carry a manufacturer’s warranty of ten to twenty-five years. Some warranties cover weatherstripping replacement under specific conditions. Before you start any DIY work on a relatively new window, check the warranty documentation. Filing a warranty claim for professional replacement often costs nothing and uses OEM (original equipment manufacturer) parts designed exactly for your window model.
Multi-Story Windows
Second-floor and higher windows require ladder work that creates real fall risk. If you’re not comfortable working from a ladder at height, professional service is the safer and often more cost-effective choice when factoring in the risk of injury. Many weatherstripping professionals complete upper-floor windows efficiently with the right equipment.
Frequently Asked Questions
Can you put new weatherstripping over old weatherstripping?
No. Applying new material over old creates an uneven surface that prevents proper sealing. The new strip won’t compress evenly, and adhesive won’t bond to old adhesive or degraded foam. Always remove the old material completely and clean the surface before installing new weatherstripping.
What is the best weatherstripping for cold climates?
Silicone-based weatherstripping performs best in cold climates. It stays flexible at temperatures as low as -65°F, unlike rubber which can stiffen and crack below 20°F. Bronze V-strip is also excellent for cold climates because it’s unaffected by temperature changes and maintains its tension over many years.
How do you weatherstrip a window that won’t stay closed?
A window that won’t latch properly usually has a hardware issue, not a weatherstripping issue. Check the sash lock, latch plate, and window balance (for double-hung windows) first. Fixing the hardware so the window closes firmly is necessary before weatherstripping can do its job.
Does weatherstripping reduce noise from outside?
Yes, but with limits. A tight weatherstripping seal reduces high-frequency noise like voices and traffic by 3 to 5 decibels. For significant noise reduction, you need laminated glass or a secondary interior window panel. Weatherstripping eliminates the sound path through the air gap, which is meaningful but not a substitute for acoustic glass.
How often should window weatherstripping be replaced?
Foam tape typically needs replacement every one to three years. V-strip lasts three to ten years depending on material. Silicone and rubber gaskets last ten to twenty years with proper maintenance. Annual inspection catches early failure before it becomes a bigger energy or moisture problem.
Can weatherstripping fix a foggy double-pane window?
No. Fogging inside a double-pane window means the insulated glass unit seal has failed, not the exterior weatherstripping. These are two separate sealing systems. Weatherstripping controls air exchange at the sash-to-frame junction. The IGU seal contains the inert gas fill between the glass panes. Fogged glass requires IGU repair or replacement.