Scratched, hazy, or water-damaged window glass doesn’t always need replacing. Cerium oxide is a fine powder that can remove light scratches, water spots, and surface haze from glass — restoring clarity at a fraction of replacement cost. It works on home windows, shower glass, and commercial storefronts.
But cerium oxide isn’t magic. It has limits. Used wrong, it can make damage worse. This guide covers exactly how it works, when to use it, how to do it safely, and what it costs — whether you’re a homeowner tackling one window or a pro handling a full building.
Key Takeaways
- Cerium oxide is a polishing compound that removes surface-level glass damage through a combination of fine abrasion and chemical bonding.
- It works best on scratches shallower than your fingernail tip — deeper damage usually can’t be fixed with polishing alone.
- DIY kits cost $20 to $80, while professional polishing services run $4 to $12 per square foot depending on damage severity.
- The process requires a felt or wool polishing pad, water, and consistent pad pressure — not a dry rub with a cloth.
- Low-E coated glass should not be polished with cerium oxide — the compound strips the coating permanently.
- Water spots and mineral haze respond faster than scratches — most haze jobs take 15 to 30 minutes per pane.
What Is Cerium Oxide and Why Does It Polish Glass?
Quick Answer: Cerium oxide is a rare-earth compound sold as a white or pale-yellow powder. It polishes glass through a dual action: fine mechanical abrasion and a mild chemical reaction that softens the glass surface slightly, allowing scratches and surface damage to be leveled out.
Cerium (atomic symbol: Ce) is a rare-earth element found in minerals like bastnasite and monazite. When processed into cerium oxide (CeO₂), it becomes one of the most effective glass polishing compounds available. It’s been used in the optical industry for decades to polish camera lenses, telescope mirrors, and precision glass.
The reason it works on glass specifically is a property called the “glass-ceria reaction.” When cerium oxide mixes with water and contacts glass, it creates a temporary softening effect on the silica surface. This makes the glass easier to smooth without requiring aggressive abrasion that would cause further damage.
Think of it like sanding wood before staining. You’re not removing the wood — you’re leveling the surface so it looks even again. Cerium oxide does the same thing to glass, just at a microscopic scale.
How Cerium Oxide Differs from Other Glass Polishing Compounds
Other compounds used for glass include aluminum oxide (alumina), tin oxide, and diamond paste. Cerium oxide is preferred for window glass because it’s aggressive enough to remove real damage but gentle enough to avoid new scratching on standard annealed glass. Diamond paste is faster but risks creating new micro-scratches on softer glass types.
| Compound | Mohs Hardness | Best Use | Risk Level | Typical Cost |
|---|---|---|---|---|
| Cerium Oxide | 6.0 | Window glass, shower glass, light scratches | Low to moderate | $15–$40 per lb |
| Aluminum Oxide | 9.0 | Optical glass, heavy scratches | High (can over-abrade) | $10–$25 per lb |
| Tin Oxide | 6.5 | Fine polishing, final finish | Very low | $20–$50 per lb |
| Diamond Paste | 10.0 | Deep scratches, hard glass | Very high | $30–$100 per kit |
| Cerium Oxide Slurry (pre-mixed) | 6.0 | Window glass, consistent application | Low | $25–$60 per quart |
When Does Window Glass Actually Need Cerium Oxide Polishing?
Quick Answer: Cerium oxide polishing is needed when window glass has light surface scratches, water spot haze, mineral etching, or construction residue damage. If the scratch catches your fingernail and feels deep, the glass likely needs replacement, not polishing.
Most window glass damage falls into a few categories. Not all of them respond to cerium oxide. Knowing the difference saves you time and money.
Surface Damage That Cerium Oxide Can Fix
- Light surface scratches — caused by windblown debris, improper cleaning with abrasive pads, or razor blade misuse
- Hard water mineral haze — white or cloudy film from calcium and magnesium deposits left by sprinklers or rain runoff
- Mild acid etching — from bird droppings, concrete splatter, or cleaning chemicals left on glass too long
- Construction residue haze — silica dust or stucco particles bonded to the glass surface during building work
- Water spot staining — stage 2 or 3 mineral deposits that don’t respond to acidic cleaners alone
Damage That Cerium Oxide Cannot Fix
- Deep scratches that catch your fingernail tip when you drag it across the glass
- Fabrication debris scratches — tiny glass shards embedded during manufacturing that cause micro-fractures
- Cracks or chips — structural damage that polishing cannot address
- Internal fogging in double-pane units — moisture inside a sealed unit is a seal failure, not a surface issue
- Delaminated Low-E coatings — if the coating is already peeling, polishing accelerates the damage
How Do You Test Window Glass Before Polishing?
Quick Answer: Run your fingernail lightly across the damaged area. If the nail glides over a white haze without catching, cerium oxide can likely fix it. If the nail catches in a groove, the scratch may be too deep. Always test on a small corner area first.
Before you buy anything, do a quick scratch depth test. It takes 30 seconds and tells you whether polishing is worth attempting.
The Fingernail Test
Hold your fingernail at about a 45-degree angle and drag it slowly across the damaged area. A surface-level scratch won’t catch the nail — it’s essentially a disruption in the glass surface, not a trench. A deep scratch creates a groove the nail drops into. Cerium oxide works by leveling the peaks on either side of a shallow scratch. It can’t fill a deep groove.
The Flashlight Side-Angle Test
Shine a flashlight at a low angle across the glass surface in a dark room. This raking light technique reveals surface texture. Haze looks like a dull film. Scratches appear as bright lines. If haze covers a large area evenly, it’s likely mineral buildup. If lines radiate in a pattern, you may be looking at fabrication debris scratches — which usually can’t be fixed by polishing.
Identifying Your Glass Type First
Before polishing any window, identify whether it has a Low-E coating. Low-E (low-emissivity) glass has a thin metallic coating that reflects heat. You can check by holding a lighter or pen light near the glass. You’ll see two reflections — if one appears a different color (orange or blue-ish instead of pure white), the coating is present. Do not polish Low-E glass with cerium oxide.
| Damage Type | Visible Sign | Fingernail Test Result | Cerium Oxide Fix? | Estimated Repair Time |
|---|---|---|---|---|
| Hard water mineral haze | White cloudy film | No catch | Yes | 15–30 min per pane |
| Light surface scratches | Faint lines in light | No catch or very slight | Yes | 30–60 min per pane |
| Mild acid etching | Rough matte texture | Slight roughness, no groove | Partially | 45–90 min per pane |
| Deep scratches | Visible grooves | Nail catches clearly | No | N/A — replacement needed |
| Internal fogging | Fog between panes | N/A (inside unit) | No | N/A — seal repair needed |
| Fabrication debris scratches | Fine swirl pattern in light | Very slight catch | Rarely | Complex — pro assessment needed |
What Supplies Do You Need for Cerium Oxide Glass Polishing?
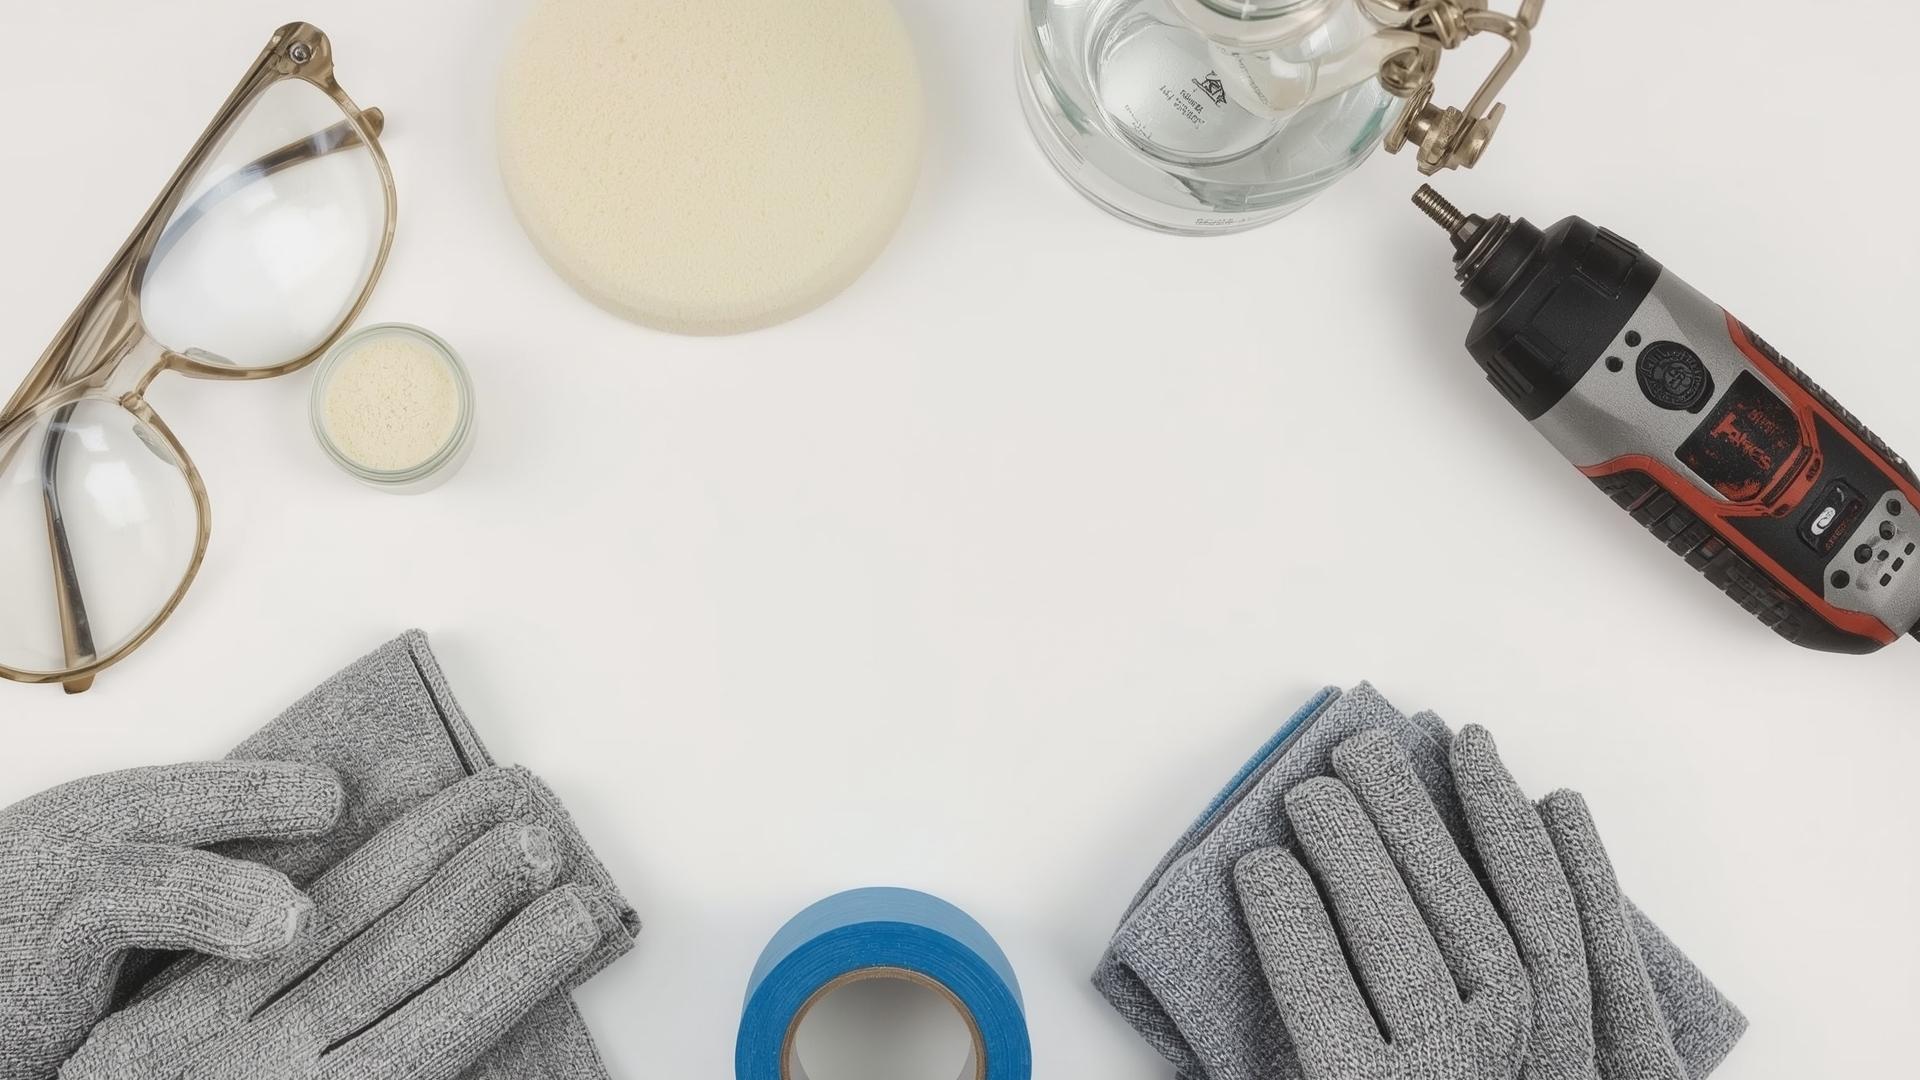
Quick Answer: You need cerium oxide powder or slurry, a felt or wool polishing pad, a variable-speed drill or angle grinder, clean water, masking tape, and a microfiber cloth. A drill-mounted pad is essential — hand rubbing rarely creates enough consistent pressure to work.
Essential Tools and Materials
- Cerium oxide powder or pre-mixed slurry — powder is cheaper per use; slurry is more consistent for beginners
- Felt polishing pad — 4-inch or 5-inch diameter, dense felt or wool construction (not foam)
- Variable-speed drill or angle grinder — with a backing plate that fits the polishing pad
- Spray bottle filled with clean water — keeps the pad wet during polishing
- Painter’s tape or masking tape — to protect window frames and seals from the compound
- Microfiber cloths — for cleanup and final wipe-down
- Safety glasses — cerium oxide slurry splashes
- Work gloves — cerium oxide is not highly toxic, but prolonged skin contact is worth avoiding
Optional but Useful Additions
- Plastic sheeting or drop cloth — cerium oxide slurry stains concrete and siding if it dries
- Backing pad with hook-and-loop attachment — makes pad swaps faster during a multi-window job
- Glass cleaner and rubber squeegee — for the final rinse and inspection
How Much Does Cerium Oxide Glass Polishing Cost?
Quick Answer: DIY cerium oxide kits cost $20 to $80 for supplies that cover several windows. Professional glass polishing services charge $4 to $12 per square foot, with minimum call-out fees of $150 to $300. Replacing a standard window pane runs $200 to $800+, making polishing a worthwhile first step.
| Option | Upfront Cost | Per Window Cost | Time Required | Skill Level Needed |
|---|---|---|---|---|
| DIY kit (basic) | $20–$45 | $5–$10 in supplies | 30–90 min per window | Beginner |
| DIY kit (professional grade) | $60–$120 | $8–$15 in supplies | 20–60 min per window | Intermediate |
| Professional polishing service | $150–$300 minimum | $4–$12 per sq ft | None for homeowner | None required |
| Window pane replacement | $200–$800+ | Full replacement cost | Half day to full day | None required |
When DIY Polishing Makes Sense
DIY polishing is a good choice when you have one to five windows with light to moderate damage. It also works well if you have time to practice on a less-visible window first. The learning curve is real — most first-timers spend 20 to 30 extra minutes figuring out pad pressure and slurry consistency before getting results they’re happy with.
When to Hire a Professional
Call a pro when you have more than 10 windows, when damage is severe or across an entire building, or when the glass type is uncertain (particularly on commercial storefronts with specialty coatings). Professionals also carry liability insurance. If they damage the glass further, they’re responsible for the replacement cost — you’re not.
How Do You Polish Window Glass with Cerium Oxide Step by Step?
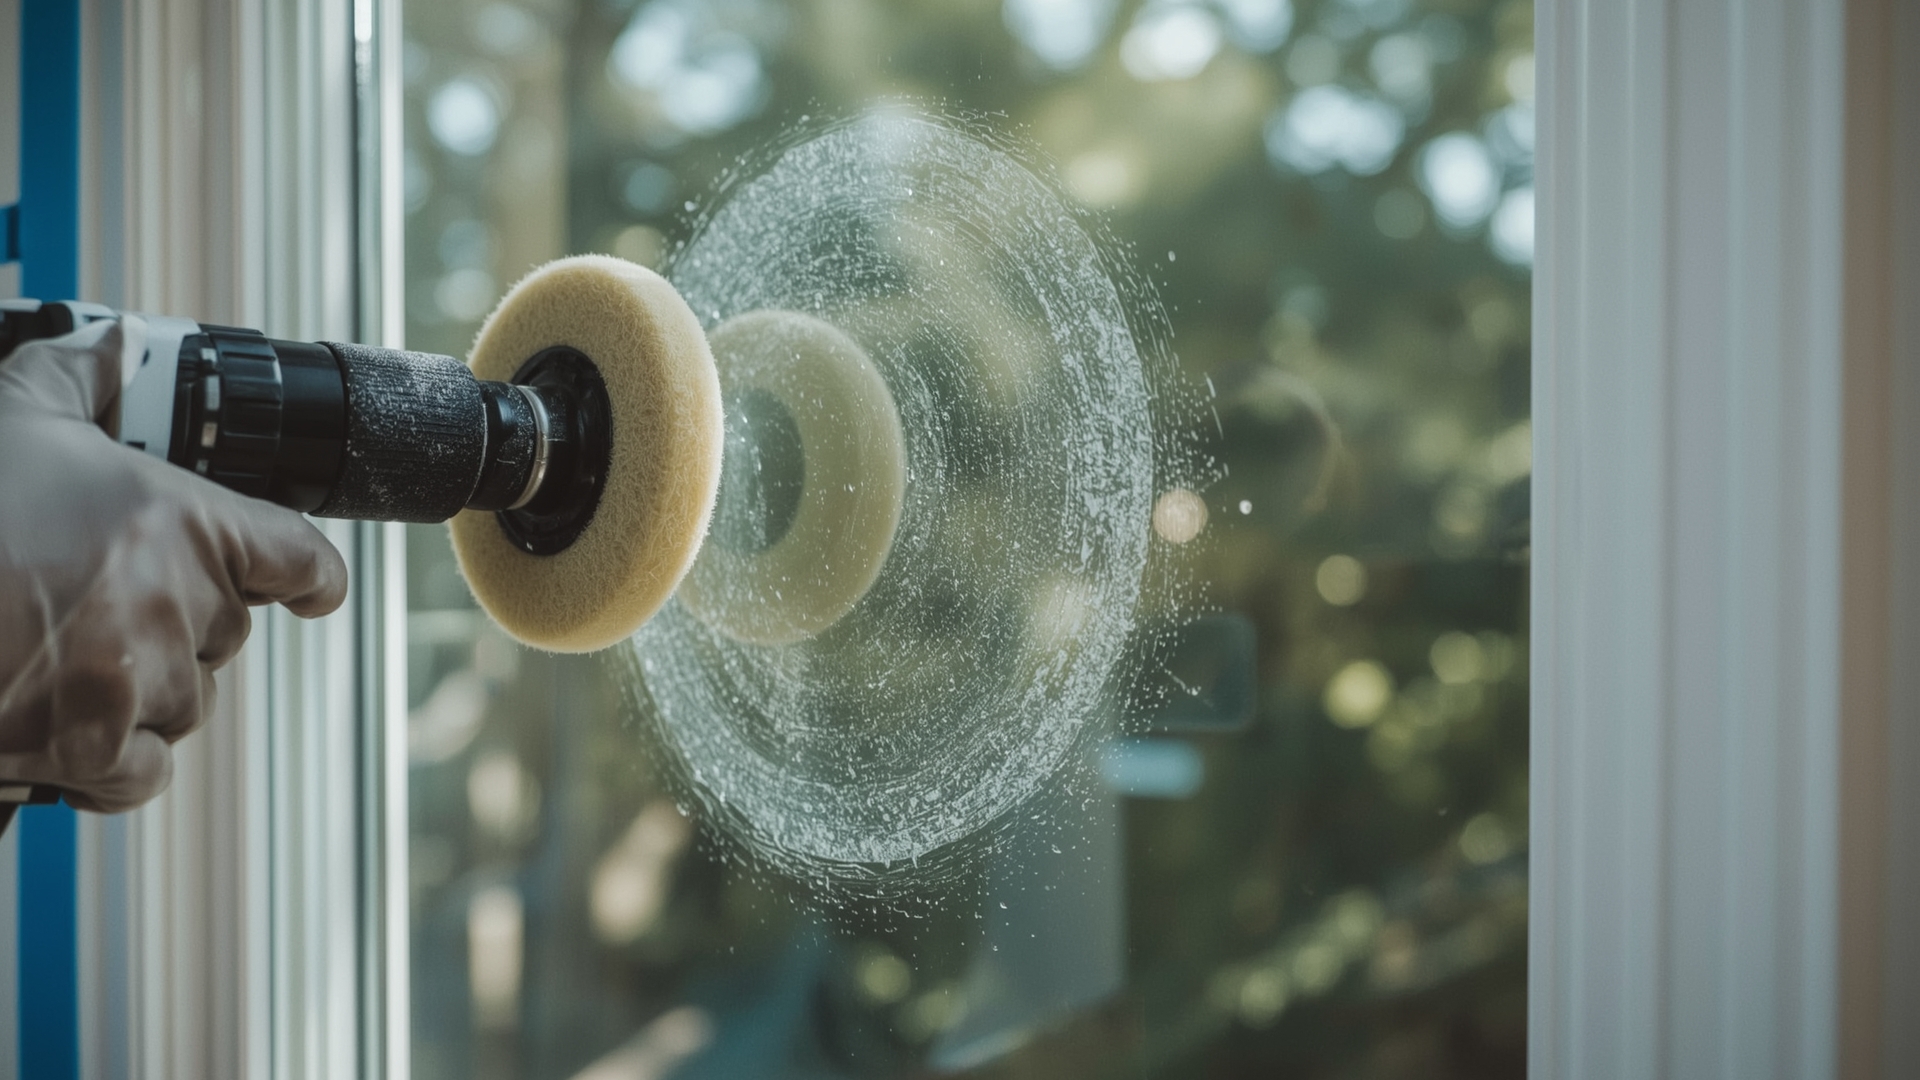
Quick Answer: Mix cerium oxide with water to a thin paste, apply it to a damp felt polishing pad, work the pad over the damaged area in overlapping circles at medium speed, keep the glass wet, and rinse completely. Repeat until the haze or scratch is gone, then do a final clean with glass cleaner.
Step 1: Prepare the Work Area
Tape off the window frame, rubber seals, and any painted surfaces bordering the glass. Lay plastic sheeting or drop cloth beneath the window. Cerium oxide slurry is white and runny — it gets on everything. A clean work area makes cleanup much faster.
Wash the glass surface with plain water and a squeegee before you start. You don’t want grit or dust on the glass when the polishing pad makes contact. Any debris caught between the pad and glass can cause new scratches.
Step 2: Mix the Cerium Oxide Slurry
If using powder, mix one part cerium oxide with two to three parts water in a small cup or dish. The consistency you want is similar to thin yogurt — pourable but not watery. Too thick and it dries too fast. Too thin and it loses abrasive contact.
Pre-mixed slurry comes ready to use, but shake the bottle thoroughly before pouring. The compound settles at the bottom and an uneven mix affects polishing performance.
Step 3: Apply the Slurry to the Pad
Dampen your felt polishing pad with water first. Then apply a tablespoon of cerium oxide slurry to the center of the pad. Don’t soak the pad — you want the compound distributed across the face, not dripping off the edges.
Step 4: Begin Polishing with the Drill or Grinder
Set your drill or angle grinder to a medium speed — roughly 1,200 to 2,000 RPM. Too slow and you won’t generate enough friction. Too fast and the compound dries out instantly, reducing effectiveness and risking heat damage.
Place the pad flat against the glass. Apply moderate, consistent pressure — about the same force you’d use pressing a sponge against a wall. Work in overlapping circles or a back-and-forth pattern across the damaged area. Keep passes even.
Spray water on the glass every 30 to 45 seconds to keep the compound wet. A dried cerium oxide pad creates heat that can stress the glass — especially on cold days when temperature differentials are large.
Step 5: Monitor Progress and Re-apply as Needed
After two to three minutes of polishing, rinse the area with water and inspect with a flashlight or in angled sunlight. Haze should show improvement after the first pass. Scratches may need three to five passes.
Reapply slurry to the pad when it starts looking dry or gray. A gray pad means the cerium oxide is used up — it’s not polishing anymore. Fresh compound on a clean pad produces the best results.
Step 6: Final Rinse and Inspection
Once you’re satisfied with the result, rinse the glass thoroughly with clean water. Use a rubber squeegee to clear the surface. Let it dry completely, then inspect under raking light or a flashlight to confirm the damage is gone.
If light haze remains but the scratch or mineral spot is clearly reduced, a second session the same day can finish the job. If after five or more passes there’s no visible improvement, the damage is likely too deep for cerium oxide.
Step 7: Apply a Protective Glass Coating (Recommended)
Freshly polished glass is clean and slightly more porous than usual. Applying a hydrophobic glass coating (sometimes called a rain repellent coating) within 24 hours seals the surface and helps prevent future mineral buildup. This step isn’t required, but it significantly extends the results of your polishing work.
What Are the Most Common Mistakes When Using Cerium Oxide on Windows?
Quick Answer: The most common mistakes are using a dry pad, running the drill too fast, letting the compound dry on the glass, skipping the fingernail test, and polishing Low-E coated glass. These errors can create new scratches or permanently damage the glass surface.
Mistake 1: Polishing Dry
Cerium oxide requires water to activate the glass-ceria chemical reaction. Without water, it acts purely as an abrasive and can scratch the glass further. Keep the glass and pad wet at all times.
Mistake 2: Using Too Much Speed
High RPM generates heat. Heat dries the compound in seconds and creates thermal stress in the glass. Stay between 1,200 and 2,000 RPM. Most homeowners run their drills too fast on the first attempt.
Mistake 3: Skipping the Glass Type Check
Polishing Low-E glass removes its heat-reflecting coating — permanently. That coating costs significantly more to replace than the glass itself, because the entire insulated glass unit needs replacing. Always confirm glass type before polishing.
Mistake 4: Using Foam Pads Instead of Felt or Wool
Foam pads don’t distribute pressure evenly across glass. They compress unevenly, creating “hot spots” on the surface where polishing is concentrated. Felt or wool pads flex consistently and distribute slurry more evenly.
Mistake 5: Expecting One Pass to Fix Everything
Polishing is a process, not a single action. Most jobs require multiple passes with fresh slurry. Stopping after one pass and declaring it didn’t work is the most common reason people give up prematurely.
Is Cerium Oxide Safe to Use Indoors and Around Window Frames?
Quick Answer: Cerium oxide is considered low toxicity for normal use but should not be inhaled as a dust or powder. Work outdoors or with ventilation when mixing powder. Keep it away from painted window frames and rubber seals — it can stain and degrade both surfaces with prolonged contact.
Cerium oxide dust is the main safety concern. When mixing powder, wear a dust mask or N95 respirator. Once mixed into slurry, the inhalation risk drops significantly — but splashing is a concern. Safety glasses protect your eyes from slurry spray during machine polishing.
The compound itself won’t harm window frames on brief contact. But if it dries on painted aluminum or vinyl frames, it bonds and becomes very hard to remove. Tape off frames thoroughly before starting, and wipe any splashes immediately with a damp cloth.
How Long Does Polished Glass Stay Clear After Treatment?
Quick Answer: Polished glass without a protective coating typically stays clear for six to eighteen months before new mineral haze begins reforming, depending on your local water hardness and weather exposure. A hydrophobic coating applied after polishing can extend that timeline to two to four years.
The cause of re-haze is the same as the original problem: mineral-rich water drying on the glass surface. If your home uses sprinklers that hit the windows, or you’re in an area with very hard water (above 200 mg/L total dissolved solids), haze can return within a few months without protection.
Regular cleaning with a squeegee after rain or irrigation exposure dramatically slows mineral buildup. Letting water evaporate on its own is what causes the deposits in the first place.
| Condition | Water Hardness (mg/L TDS) | Coating Applied? | Expected Clarity Duration |
|---|---|---|---|
| Soft water area, no sprinklers | Under 60 | No | 18–36 months |
| Moderate water, occasional exposure | 60–120 | No | 12–18 months |
| Hard water area, sprinkler exposure | 120–200 | No | 3–6 months |
| Very hard water, regular exposure | 200+ | No | 1–3 months |
| Any hardness level | Any | Yes (hydrophobic coating) | 24–48 months |
Frequently Asked Questions
Can cerium oxide remove scratches from tempered glass?
Cerium oxide can polish light surface scratches on tempered glass, but tempered glass is harder than standard annealed glass. Polishing takes longer and may require more passes. Be cautious — tempered glass sometimes has fabrication debris embedded in the surface that polishing can worsen rather than fix.
How is cerium oxide polishing different from using a scratch repair kit from a hardware store?
Most hardware store scratch repair kits use acrylic fillers or light abrasive compounds that fill scratches rather than remove them. Cerium oxide actually levels the glass surface. For genuine scratch removal, cerium oxide outperforms most consumer fillers, especially on mineral haze and etching.
Will cerium oxide work on car windshields using the same method?
Yes. The same process works on automotive windshields. The key difference is that windshields often have a slight tint or anti-reflective layer on the interior side — only polish the outer surface. Also avoid polishing over any embedded radio antenna lines printed on the glass.
What happens if cerium oxide dries on the glass before I rinse it?
Dried cerium oxide forms a hard white crust on glass. It won’t permanently damage the glass, but it’s difficult to remove once dry. Soak it with water for five minutes, then scrub gently with a non-scratch pad. Preventing dry-out by keeping the glass wet during polishing avoids this problem entirely.
Can I polish a window that’s still installed in its frame, or do I need to remove it?
You can polish installed windows in their frames. In fact, most homeowners and professionals polish glass in place. The main consideration is protecting the frame, seals, and surrounding surfaces from slurry splatter. Tape off the frame perimeter and lay drop cloths beneath the window before starting.
Does cerium oxide work on frosted or textured glass?
Cerium oxide is not recommended for frosted or textured glass. The polishing action smooths the surface. On frosted glass, this removes the textured finish that creates the frosted appearance, leaving clear patches that are very difficult to restore without professional re-etching or glass replacement.