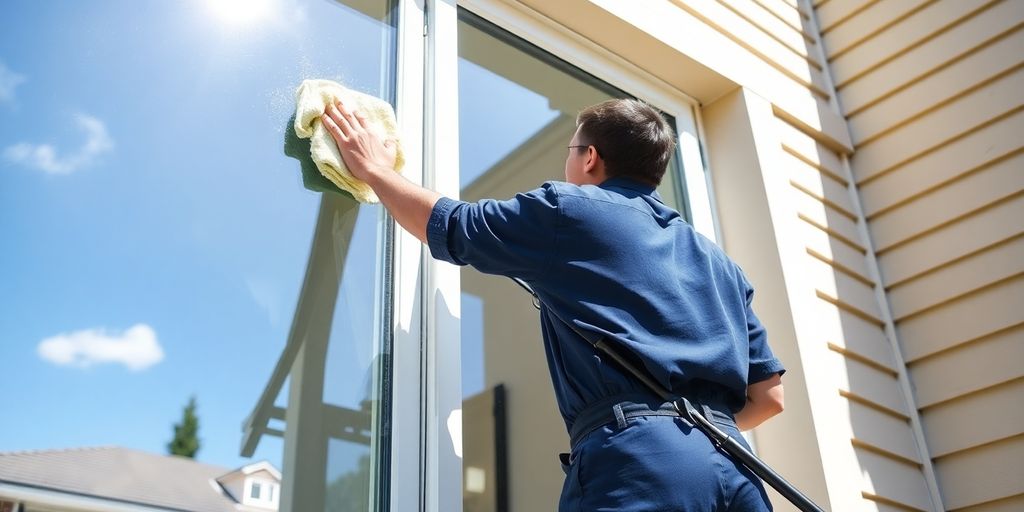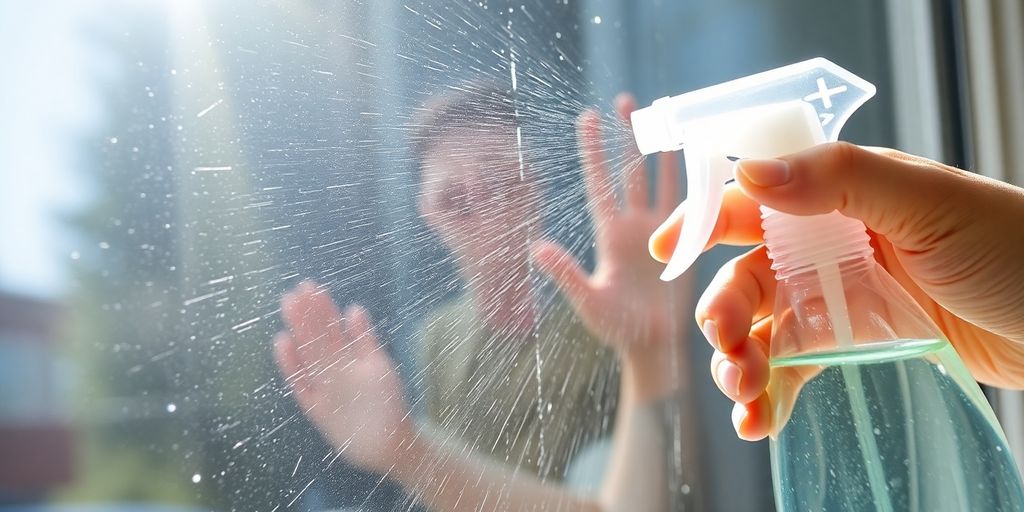
So, you’re tired of those streaky windows and the harsh smell of commercial cleaners? I get it. I used to think getting sparkling windows meant buying expensive stuff, but then I discovered the simple power of vinegar. Seriously, this stuff is a game-changer for cleaning windows with vinegar. It’s cheap, it works, and you probably already have it in your kitchen. We’re going to break down why vinegar is the star of the show and how to whip up your own window cleaner that actually gets the job done without breaking the bank.
Key Takeaways
- Vinegar’s acidity is great for cutting through grease and grime, leaving windows clear.
- A simple mix of vinegar and water is often all you need for a streak-free shine.
- You can add essential oils for a pleasant scent, but they aren’t necessary for cleaning.
- Always use a clean spray bottle, preferably glass if you add essential oils, and microfiber cloths for the best results.
- Clean windows on a cloudy day to prevent the solution from drying too quickly and causing spots.
The Magic of Vinegar for Sparkling Windows
Why Vinegar is Your Go-To Cleaning Agent
When it comes to getting your windows crystal clear, you might be surprised to learn that a common kitchen staple is one of the best tools you have. Yep, we’re talking about vinegar! It’s not just for salad dressings or pickling anymore. Vinegar’s natural acidity makes it a powerhouse for cutting through grime, grease, and all sorts of gunk that tends to build up on glass surfaces. It’s a simple, effective, and budget-friendly way to achieve that satisfyingly clean shine. Forget those expensive, chemical-laden cleaners that can leave behind harsh fumes. Vinegar offers a gentler, more natural approach that works wonders.
Understanding Vinegar’s Cleaning Power
So, what exactly makes vinegar so good at cleaning windows? It all comes down to its acetic acid content. This acid is fantastic at breaking down mineral deposits, soap scum, and even sticky fingerprints. When you spray a diluted vinegar solution on your windows, the acid goes to work, loosening the dirt and making it easy to wipe away. It’s like a tiny, natural degreaser that doesn’t leave behind any residue, which is key for a clear view. For most everyday cleaning, a simple mix of water and vinegar is all you need. A common recommendation is a 2:1 ratio of water to vinegar, but a 1:1 mix can also work well for tougher jobs. Just remember, while vinegar is great, it’s still acidic, so it’s always a good idea to test it on a small, hidden spot first, especially if you’re unsure about the surface. You can find more details on making your own homemade glass cleaner.
Achieving a Streak-Free Shine
Getting that perfect, streak-free finish is the ultimate goal, right? Vinegar is your best friend here. Because it evaporates relatively quickly and doesn’t leave behind sticky residues like some soaps can, it helps prevent those annoying streaks. The trick is to use the right technique and the right tools. Always try to clean your windows on a cooler, overcast day. If the sun is beating down, the solution can dry too fast, leaving spots. Microfiber cloths are also a game-changer. They’re super absorbent and great at picking up dirt without leaving lint behind.
Here’s a quick rundown of how to get that sparkle:
- Prep: Start by dusting or wiping away any loose cobwebs or surface dust from the window frames and glass.
- Spray: Lightly mist the window with your diluted vinegar solution. Don’t drench it!
- Wipe: Use a clean microfiber cloth to wipe the glass. Work from top to bottom.
- Dry: Buff the window dry with another clean, dry microfiber cloth for that final, streak-free gleam.
Remember, the key is not to over-saturate the glass and to use clean cloths. A little goes a long way with vinegar!
If you want to add a pleasant scent, a few drops of essential oil, like orange or tea tree, can help mask the vinegar smell. Just be mindful that essential oils can sometimes degrade plastic spray bottles over time, so a glass bottle might be a better choice if you plan to add them regularly.
Crafting Your Homemade Window Cleaner
Making your own window cleaner is surprisingly simple and way more budget-friendly than buying commercial products. Plus, you get to control exactly what goes into it, which is great if you have sensitivities or just want to keep things natural. You probably already have most of the ingredients in your kitchen right now!
Essential Ingredients for a Clear View
When you’re whipping up your own window cleaner, you’re aiming for a few key things: cutting through grime, dissolving mineral deposits, and evaporating quickly to avoid streaks. Here’s a breakdown of what makes these simple ingredients so effective:
- Distilled Water: Unlike tap water, which can have minerals that leave spots, distilled water is pure. This means it won’t add any extra residue to your windows.
- White Vinegar: The acetic acid in vinegar is a champ at breaking down dirt and mineral buildup. It’s a natural disinfectant too!
- Rubbing Alcohol (Isopropyl Alcohol): This stuff evaporates super fast, which is a big help in preventing those annoying streaks. It also adds a bit of extra cleaning power.
- Dish Soap (Optional): Just a tiny bit can help cut through greasy films, like fingerprints or kitchen splatters. Use sparingly, though, as too much can cause suds and streaks.
- Essential Oils (Optional): If you’re not a fan of the vinegar smell (though it fades quickly!), a few drops of essential oil can add a pleasant scent. Think lemon, lavender, or peppermint. Just don’t go overboard – too much can actually cause streaks.
Simple Steps to Mix Your Solution
Mixing your cleaner is pretty straightforward. You don’t need to be a chemist to get it right! Here’s a basic recipe to get you started:
- Gather Your Supplies: You’ll need an empty spray bottle (a clean, repurposed one is fine, but a new one is best to avoid chemical mix-ups), a funnel, and measuring cups/spoons.
- Combine Liquids: In your spray bottle, add:
- 2 cups of distilled water
- 1/4 cup of white vinegar
- (Optional) 1/4 cup of rubbing alcohol for faster drying
- Add Extras (If Using): If you want a bit of grease-cutting power, add about 1/2 teaspoon of mild dish soap. For scent, add 5-10 drops of your favorite essential oil.
- Mix It Up: Screw the lid on tightly and give the bottle a good shake to combine everything. Make sure to label your bottle clearly!
Choosing the Right Spray Bottle
When it comes to spray bottles, you have a couple of options. While you can reuse an old cleaner bottle, it’s really best to start fresh. Old bottles might have leftover chemicals that could react badly with your new mixture – you definitely don’t want to mix bleach and vinegar, for example, as that creates toxic fumes. Plastic bottles work, but if you plan on using essential oils, a glass bottle is a better choice. Essential oils, even diluted, can sometimes break down certain plastics over time, leading to leaks. So, if you’re going the essential oil route, grab a sturdy glass spray bottle. And always, always label your bottle so everyone knows what’s inside!
Elevating Your Cleaning Experience
So, you’ve got your basic vinegar and water solution ready to go. That’s awesome! But what if you want to take your window cleaning from ‘good enough’ to ‘wow, those are clean!’? It’s totally doable. Think of it like adding a little extra flair to your favorite recipe – a pinch of this, a dash of that, and suddenly, it’s next level.
Personalizing Your Cleaner’s Scent
Let’s be real, the smell of vinegar isn’t everyone’s favorite. If the aroma is a bit much for you, adding a few drops of essential oils can make a big difference. Citrus oils like lemon or orange are great for a fresh scent, while lavender can add a calming touch. Just a few drops in your spray bottle is usually enough. It’s a simple way to make the chore a little more pleasant.
Adding Extra Boosts for Tough Grime
Sometimes, windows get really grimy, especially if they’re outside or haven’t been cleaned in a while. For those stubborn spots, you can add a tiny bit of dish soap to your vinegar and water mix. Just a half teaspoon or so is plenty. It helps cut through grease and tougher dirt. Another trick some people use is adding a tablespoon of cornstarch. It acts as a mild abrasive, but you have to make sure you rinse it off really well afterward, so it’s an extra step.
Tips for a Better Cleaning Day
Here are a few things that really help get the best results:
- Wait for shade: Try not to clean windows when the sun is beating down directly on them. The heat makes the cleaner dry too fast, which is a big cause of streaks. An overcast day is perfect.
- Dust first: Before you spray, give your windows a quick wipe with a dry cloth or duster. This gets rid of loose dirt and dust so you’re not just smearing it around.
- Use the right cloths: Microfiber cloths are your best friend here. They grab dirt and don’t leave lint behind like paper towels sometimes do. You can find some great microfiber cloths that will last you a long time.
A little preparation goes a long way. Taking a few extra minutes to dust and choosing the right time of day can save you a lot of frustration with streaks later on.
Vinegar’s Role in Eco-Friendly Cleaning
When you’re thinking about cleaning your windows, it’s easy to just grab whatever’s under the sink. But have you ever stopped to think about what’s actually in those bottles? Many commercial cleaners are packed with chemicals that aren’t great for us or the planet. That’s where vinegar really shines as a fantastic alternative.
A Healthier Choice for Your Home
Using vinegar means you’re cutting down on harsh chemicals in your living space. It’s a natural disinfectant effective for cleaning countertops after food preparation. Unlike some cleaners that can leave behind fumes, vinegar breaks down dirt and grime without all the extra stuff. This makes it a much better option, especially if you have kids or pets running around. You know exactly what you’re putting on your windows, and that peace of mind is pretty great.
Cost-Effective Cleaning Solutions
Let’s talk about your wallet. Making your own window cleaner with vinegar is incredibly budget-friendly. You probably already have vinegar in your pantry, and water is free! Compared to buying specialized glass cleaners, which can add up quickly, this DIY approach saves you a good chunk of change. It’s a simple switch that makes a big difference over time.
Understanding Ingredient Safety
It’s important to know what you’re using. Vinegar, specifically white distilled vinegar, is made through a fermentation process. Its acidity is what makes it a powerful cleaner. When you dilute it with water, you get a safe and effective solution. Just remember to avoid mixing vinegar with bleach, as that can create dangerous fumes. Always use a clean spray bottle, preferably a new one, to avoid any reactions with old cleaning product residues. For tougher stains, adding a few drops of soap to vinegar can enhance its cleaning power, but for windows, pure vinegar and water usually does the trick beautifully. You can find more information on safe cleaning practices at EPA.
Mastering the Art of Cleaning Windows with Vinegar
So, you’ve got your trusty vinegar solution mixed up, and you’re ready to tackle those windows. But how do you get that truly professional, streak-free shine? It’s all in the technique, really. Think of it like this: you wouldn’t just slap paint on a wall and expect a masterpiece, right? Cleaning windows with vinegar is similar – a little know-how goes a long way.
Prepping Your Windows for Cleaning
Before you even think about spraying, give your windows a quick once-over. Grab a dry cloth or a soft-bristled broom and gently sweep away any loose dust, cobwebs, or debris from the corners and edges. This simple step prevents you from just smearing dirt around when you start cleaning, which is a common mistake people make. It’s like clearing the canvas before you paint.
The Best Technique for Wiping
Now for the main event. Lightly mist your window with your homemade vinegar cleaner. Don’t drench it; a gentle spray is all you need. The key here is to use a clean microfiber cloth. Wipe the glass in a consistent pattern – either side-to-side or top-to-bottom. Avoid getting too much of the solution on your window frames, especially if they’re made of wood, as vinegar can be a bit harsh on certain materials. For a really effective clean, try mixing 2 cups of warm water with 1/4 cup white vinegar and a tiny bit of dish soap, like the original blue Dawn. This combination is a powerhouse for cutting through grime.
Drying for a Perfect Finish
This is where the magic happens, or where streaks can appear if you’re not careful. Use a second, completely dry microfiber cloth. Buff the window dry, again using a consistent motion. Some people like to use old newspapers, but honestly, microfiber cloths are far superior for lifting away moisture and leaving a spotless finish. The best time to clean your windows is on a cloudy day. If the sun is beating down, the solution can dry too quickly, leaving those annoying spots and streaks you’re trying to avoid. If you want your cleaner to evaporate even faster, consider adding a tablespoon or two of rubbing alcohol to your mix.
Exploring Variations for Different Needs
Sometimes, the standard vinegar and water mix just isn’t enough, or maybe you’re dealing with a specific kind of mess. That’s where tweaking your homemade cleaner comes in handy. We can adjust the recipe to tackle different cleaning challenges, making sure you’ve got the right tool for every window, inside or out.
A Boost for Stubborn Outdoor Grime
For windows that have seen better days, especially those exposed to the elements, a little extra power is needed. Think pollen, bird droppings, or just general grime that’s baked on. Adding a bit of cornstarch to your usual vinegar and water solution can make a surprising difference. The cornstarch acts as a mild abrasive, helping to lift away tougher dirt without scratching the glass. Just mix about a tablespoon of cornstarch with your vinegar and water. Remember to shake the bottle well before each use, as the cornstarch can settle.
Quick-Evaporating Solutions
If you’re in a hurry or live in a warm climate where solutions can dry too fast, adding a splash of rubbing alcohol (isopropyl alcohol) to your mix can help. Alcohol evaporates much quicker than water, which can reduce the chances of streaks forming as you wipe. A good starting point is to add about a quarter cup of rubbing alcohol to your standard two-cup water and quarter-cup vinegar solution. This is especially helpful for smaller windows or quick touch-ups.
Gentle Abrasives for Deep Cleaning
When you encounter really caked-on dirt, like sap or paint splatters, you might need something a bit more robust than just vinegar. While you want to avoid harsh scrubbing, a very small amount of a gentle abrasive can be beneficial. Some people have success adding a tiny bit of baking soda to their solution, creating a paste for spot treatment on particularly stubborn spots. However, be cautious with baking soda; too much can leave its own residue. Always test on an inconspicuous area first. For a more robust cleaner, consider adding a drop or two of grease-cutting dish soap to your mixture, which helps break down oily residues.
So, Go Forth and Shine!
So there you have it! Making your own window cleaner with vinegar is super simple and really works. You get sparkling, streak-free windows without all the harsh chemicals or the big price tag. Plus, you can even add a little essential oil if you want a nice smell. It’s a win-win for your home and your wallet. Give it a try – you might be surprised at how easy and effective it is!
Frequently Asked Questions
What kind of vinegar is best for cleaning windows?
You can use white vinegar or apple cider vinegar. Just make sure it’s not the fancy kind, as that might leave streaks. Regular white vinegar works great!
What’s the right mix of water and vinegar for window cleaner?
A good starting point is mixing two parts water with one part vinegar. If your windows are really dirty, you can try a 1:1 mix, but don’t use more than half vinegar, as it can get too strong.
When is the best time to clean windows with vinegar?
It’s best to clean windows on a day that’s not too sunny. When the sun is shining brightly, the cleaner can dry too fast and leave spots or streaks. A cloudy day or early morning is perfect!
Are there any surfaces vinegar shouldn’t touch?
Vinegar is great for cleaning glass, but be careful with window frames, especially if they are made of wood. Vinegar’s acidity can sometimes damage wood. Also, never mix vinegar with bleach, as it creates dangerous fumes.
Can I add essential oils to the window cleaner?
Yes! You can add about 10 drops of your favorite essential oil, like lemon or lavender, to the mix to make it smell nicer. Just give the bottle a good shake afterward.
How can I make the cleaner stronger for really dirty windows?
For super tough dirt, like bug splatters on outdoor windows, you can add a tablespoon of cornstarch to the mix. It acts like a gentle scrub. Just make sure to rinse it off well with water afterward.