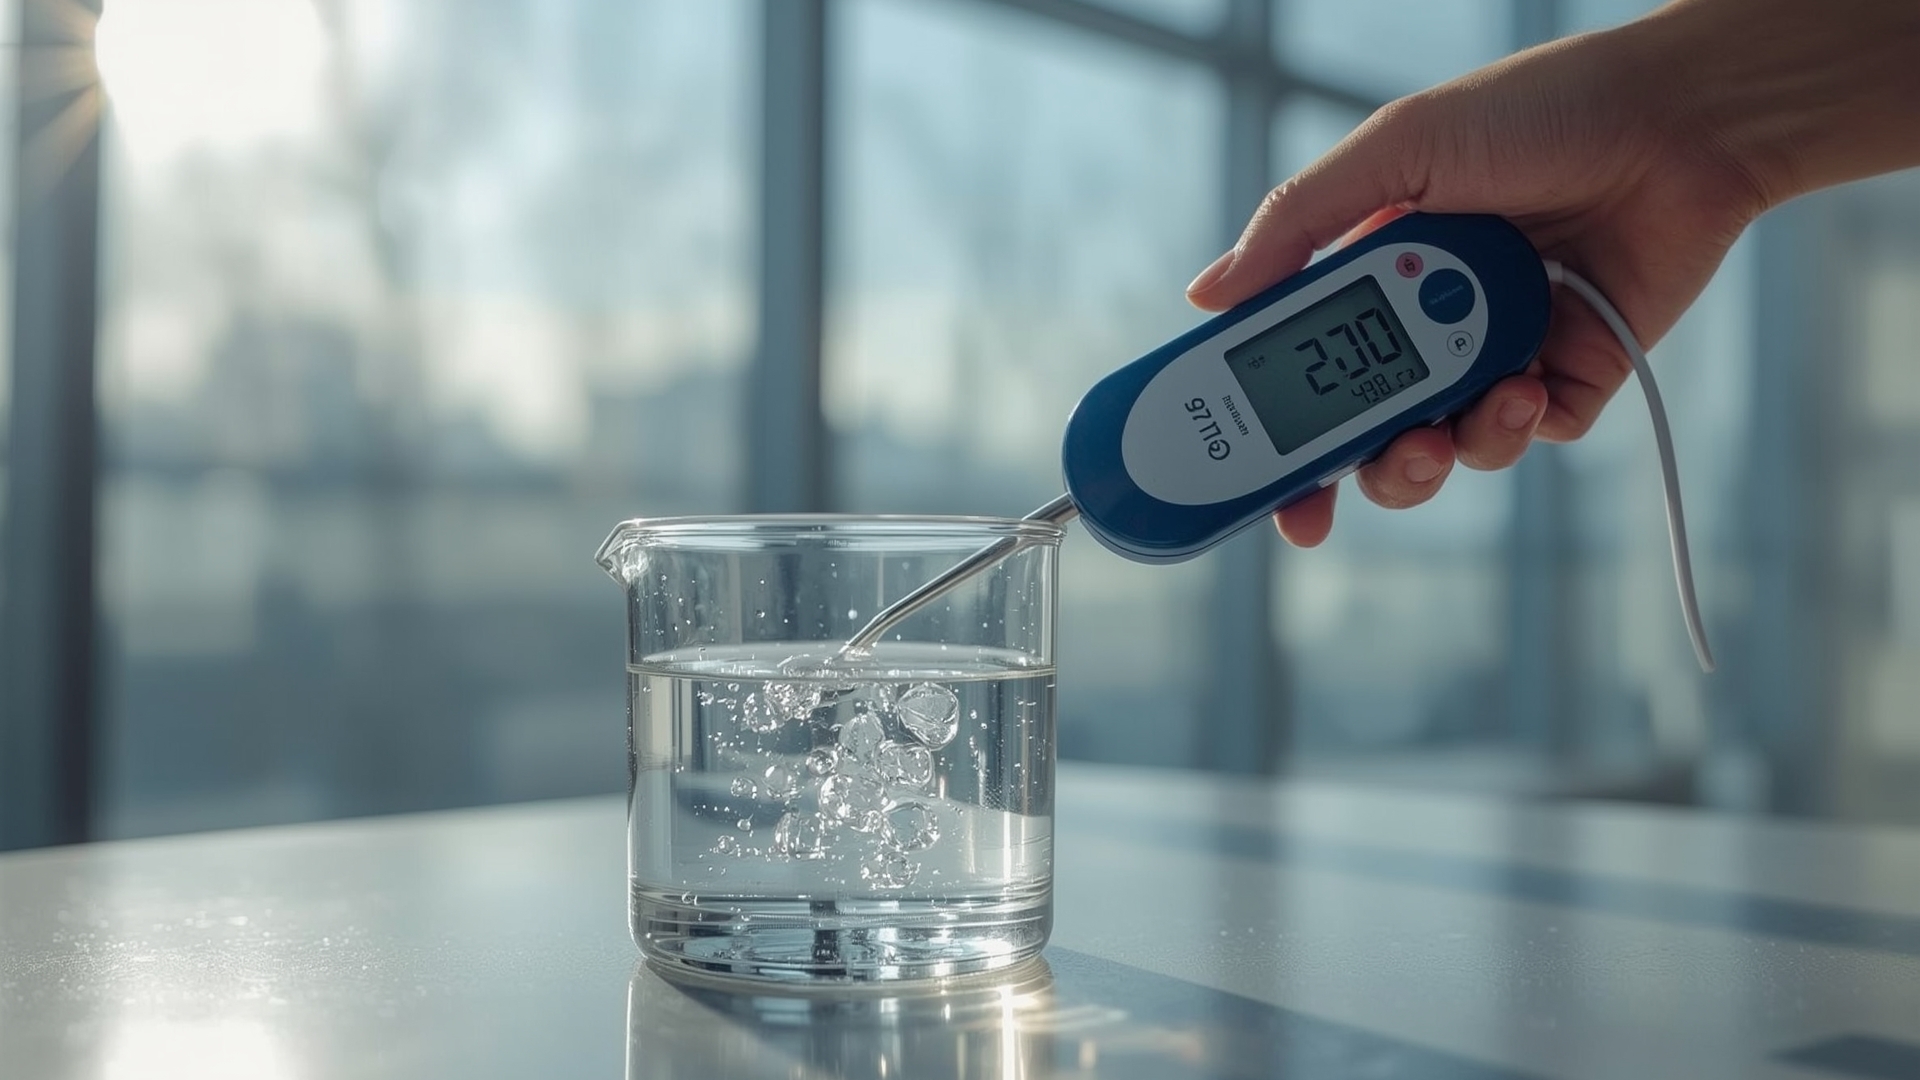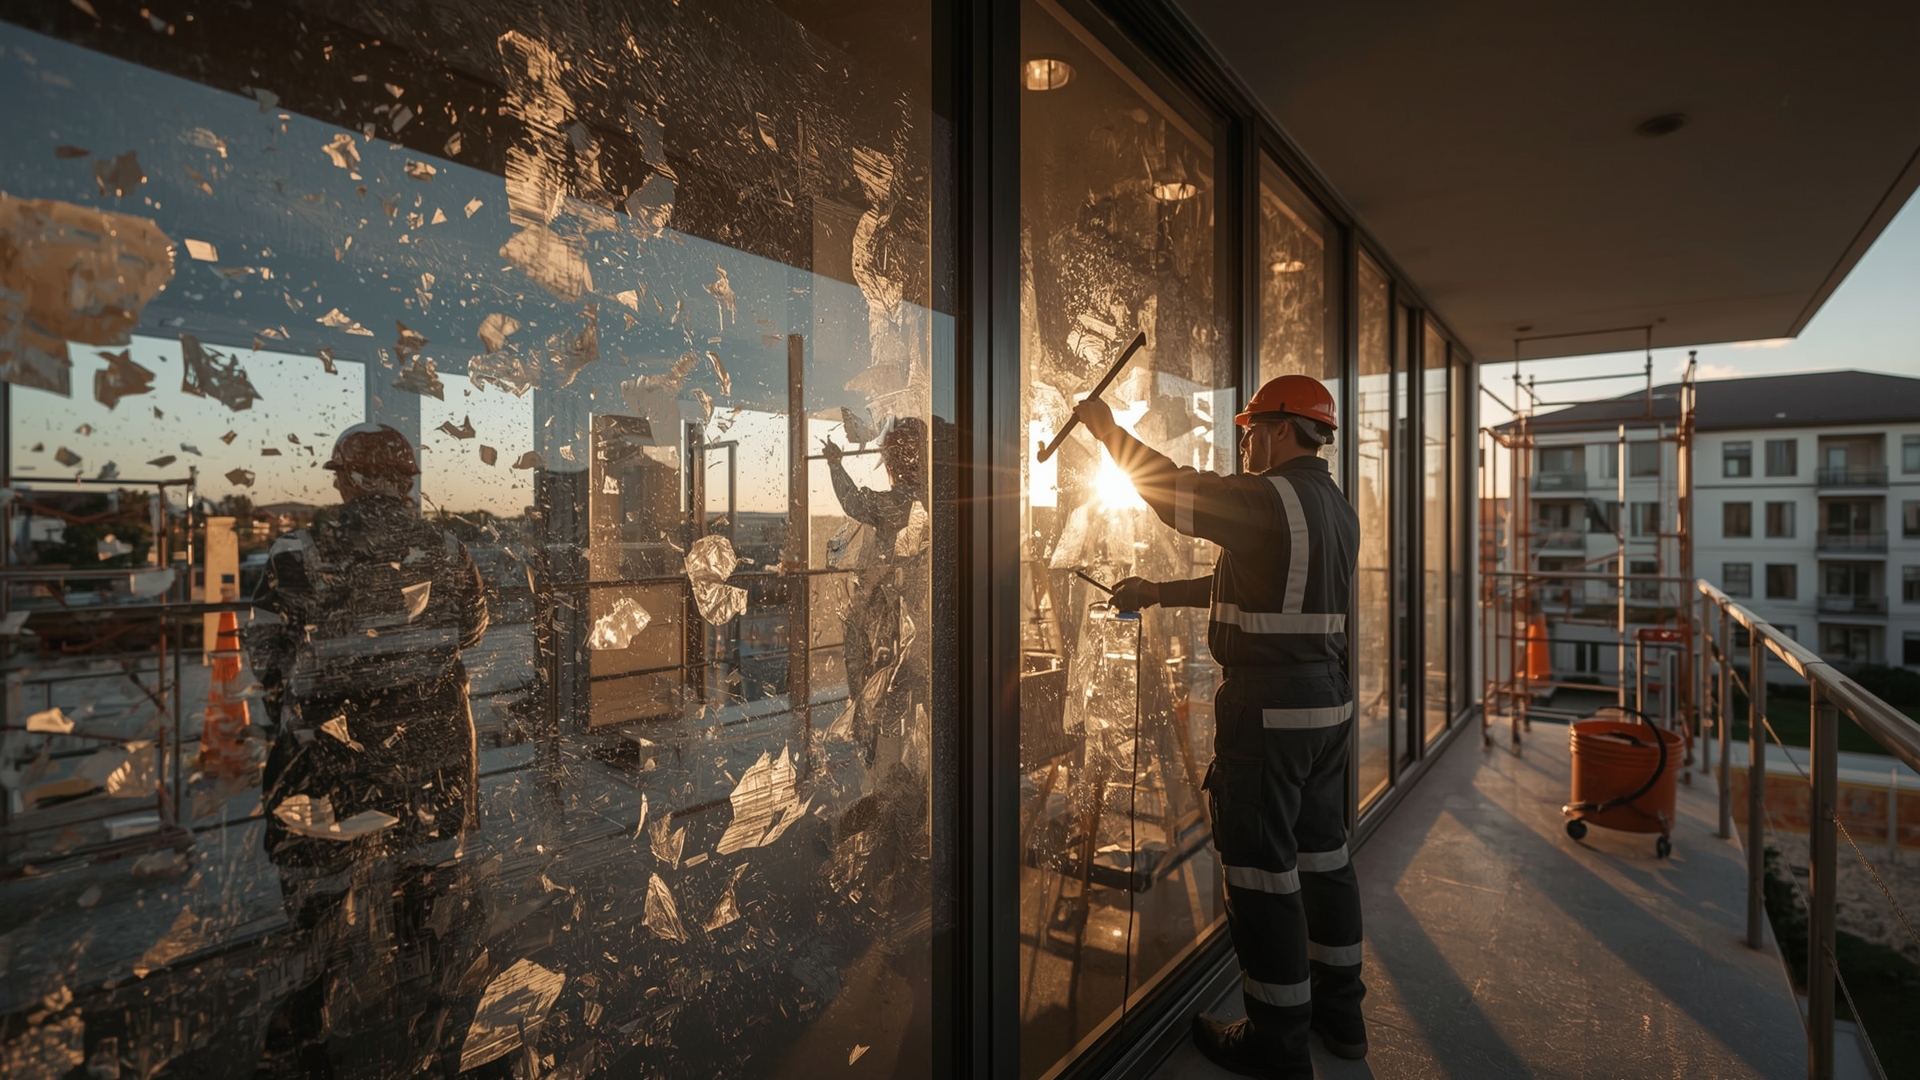
Construction leaves behind more than just sawdust and paint overspray. Concrete splatter, mortar runoff, and alkaline cleaning chemicals can permanently etch into your window glass, leaving behind a cloudy, frosted appearance that standard cleaning can’t touch. The damage isn’t on the surface — it’s in the glass itself.
The good news is that many cases of chemically etched glass are fixable. The right abrasive compound and a systematic polishing process can restore clarity to glass that looks ruined. But not every etched window can be saved, and knowing the difference before you start saves you significant time and money.
Key Takeaways
- Chemical etching is structural surface damage — alkaline compounds like concrete and mortar dissolve the top layer of glass, creating microscopic pits that scatter light.
- Cerium oxide is the primary repair compound — this rare-earth polishing powder removes the damaged glass layer and restores optical clarity when used correctly.
- Severity determines repairability — mild to moderate etching responds well to polishing; severe etching with visible depth or iridescence typically requires glass replacement.
- The scratch test is your most important diagnostic tool — run a fingernail across the affected area to gauge damage depth before committing to a repair approach.
- Low-E coatings cannot be polished — abrasive compounds destroy the metallic coating on low-E glass, making polishing impossible without ruining the glass’s energy performance.
- Polishing removes a thin layer of glass permanently — this process cannot be repeated multiple times without thinning the glass beyond safe tolerances.
What Causes Chemical Etching on Construction Glass?
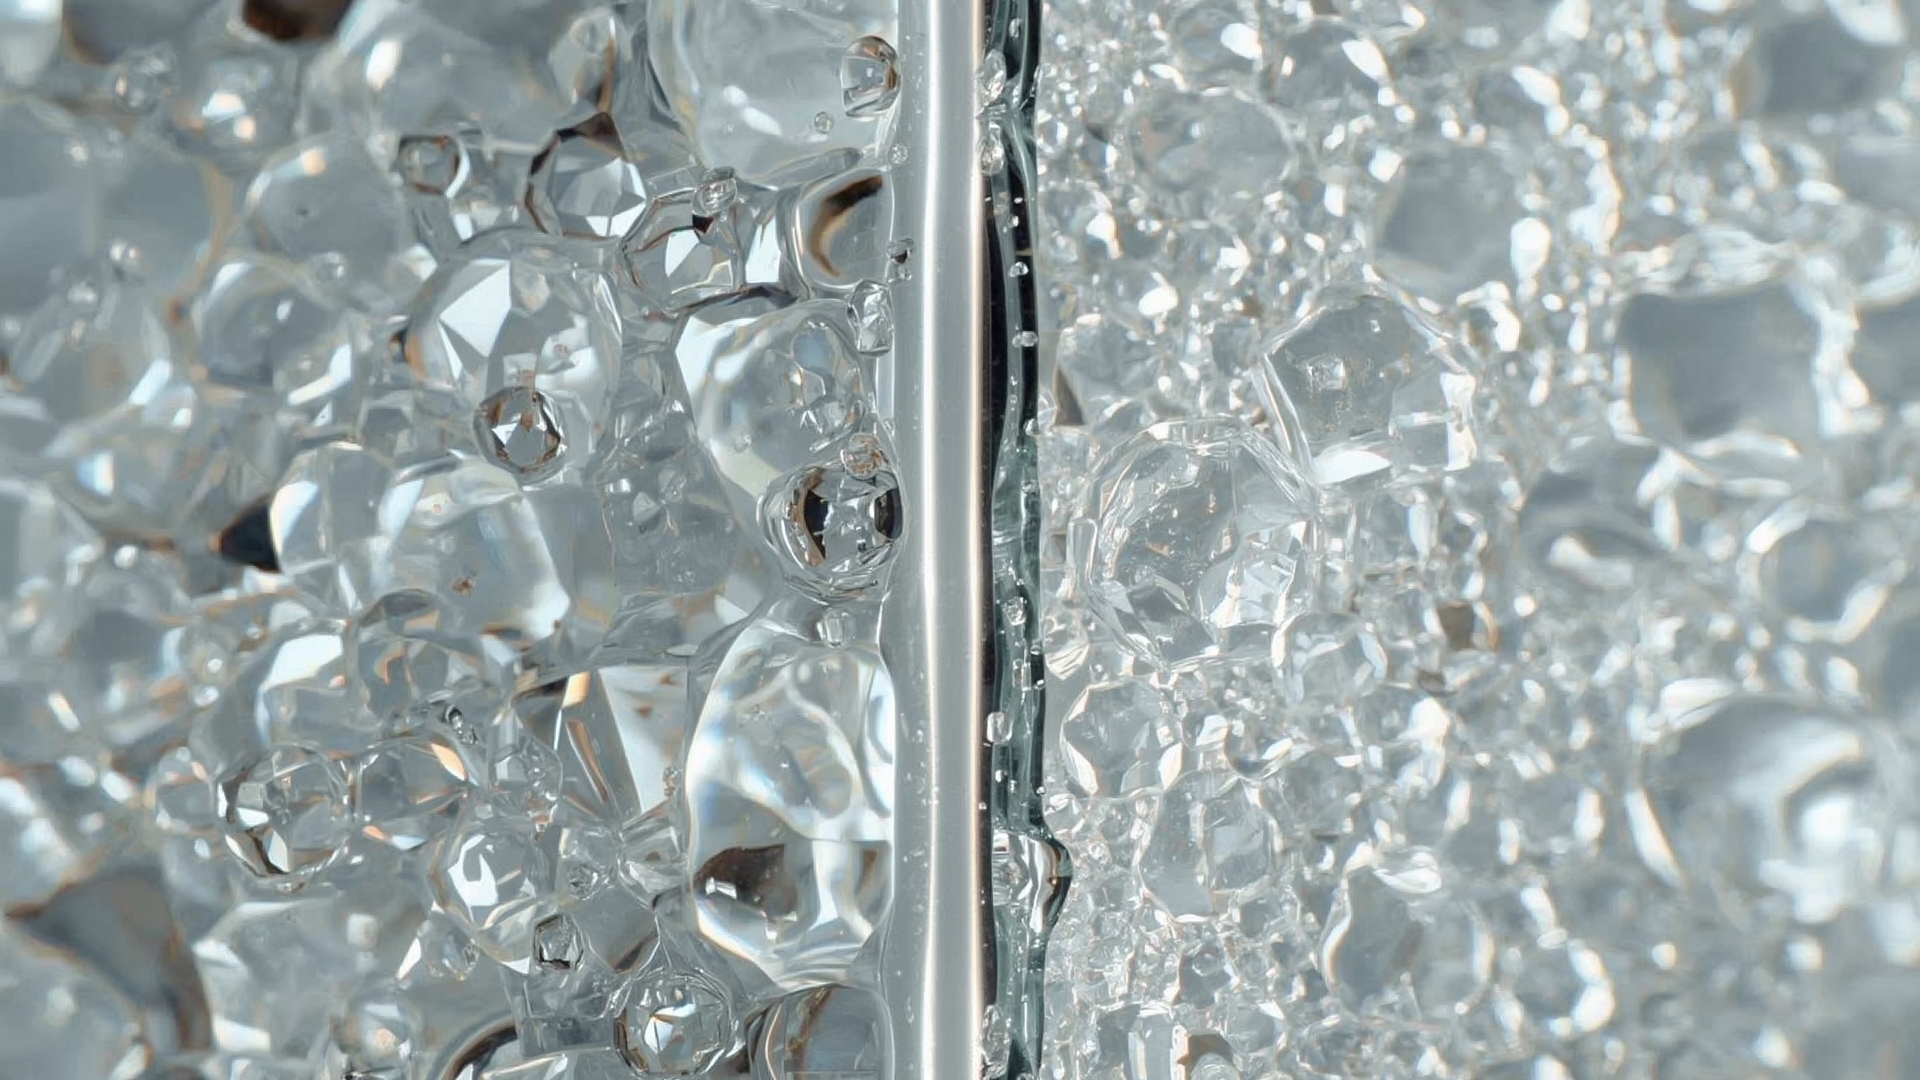
Quick Answer: Chemical etching occurs when alkaline substances like concrete, mortar, lime, and cement contact glass during construction. These high-pH compounds dissolve silica at the glass surface, creating microscopic pits that scatter light and produce permanent cloudiness or a frosted appearance.
The Chemistry Behind Glass Etching
Glass is made primarily of silica dioxide (SiO2). Alkaline compounds attack silica directly. When wet concrete, mortar, or lime-based products contact glass, a chemical reaction called alkaline hydrolysis begins breaking down the silica network at the surface.
The result is microscopic pitting and surface roughness you can’t see individually but that collectively scatter incoming light. This light scattering is what produces the hazy, frosted, or milky appearance. Ordinary glass cleaner only removes surface contamination. It cannot smooth out physical pits already etched into the glass.
Common Construction Chemicals That Etch Glass
- Portland cement and concrete mix — pH 12 to 13; the most common offender on construction sites
- Mortar and grout — pH 11 to 13; often splashes during masonry work near window openings
- Hydrated lime (calcium hydroxide) — pH 12.4; used in plaster and stucco applications
- Masonry cleaning acids (misapplied) — concentrated muriatic or phosphoric acid can etch glass if not rinsed immediately
- Alkaline construction cleaning products — some post-construction degreasers have pH 10 to 12 and cause etching if left on glass
- Efflorescence salts — mineral salts carried by water from masonry onto glass; bond to the surface and can etch over time
Chemical Etching vs. Hard Water Staining: What’s the Difference?
Hard water staining is a mineral deposit sitting on top of the glass. You can often remove it with an acid-based cleaner or mechanical scrubbing. Chemical etching is different. The glass surface itself has been physically altered — there’s nothing to remove, only damage to repair through abrasive polishing.
A simple test separates the two. Apply a few drops of white vinegar or a dilute acid-based cleaner to a small affected area. If the haze clears, you have mineral deposits. If it stays exactly the same, you have chemical etching.
How Do You Assess the Severity of Chemically Etched Glass?
Quick Answer: Assess etching severity by running a fingernail across the surface, checking for iridescence, and measuring haze visibility. Mild etching shows light haze with no tactile depth. Severe etching feels rough, shows color patterns, or appears deeply frosted and usually requires replacement rather than polishing.
The Four-Stage Severity Framework
| Severity Stage | Visual Appearance | Tactile Feel | Iridescence | Repair Approach |
|---|---|---|---|---|
| Stage 1 — Mild | Faint haze, barely visible at most angles | Smooth, no roughness | None | Cerium oxide polish, 1-2 passes |
| Stage 2 — Moderate | Clear haze visible in direct light | Slight texture on fingernail test | Minimal | Cerium oxide polish, 3-5 passes |
| Stage 3 — Severe | Dense frosted appearance, reduces visibility | Noticeable roughness | Moderate rainbow patterns | Polishing attempted; replacement likely |
| Stage 4 — Critical | Deeply frosted, near-opaque sections | Rough like fine sandpaper | Strong iridescence | Glass replacement required |
How to Perform the Fingernail Test
The fingernail test is the fastest field assessment tool available. Run your fingernail slowly across the hazed area. A smooth surface means the etching is shallow. If your nail catches or the surface feels like fine sandpaper, the pitting has depth and polishing alone may not fully restore clarity.
Combine this with a backlight check. Stand inside the building and hold a bright flashlight against the outside of the glass at night. Deep etching shows clearly as an opaque white zone. Shallow etching produces only a faint haze that may partially clear when backlit.
Does the Type of Glass Change the Assessment?
Yes. Tempered glass, laminated glass, and standard annealed glass respond differently to chemical etching and polishing. Tempered glass has a compressed surface layer — heavy polishing removes this and can compromise the glass’s safety rating. Float glass (standard annealed glass) tolerates polishing better but has thickness limits.
Low-E glass has a thin metallic oxide coating on one surface. Polishing a low-E surface destroys this coating entirely, which eliminates the glass’s energy efficiency and invalidates most manufacturer warranties. Always identify your glass type before starting any repair.
What Is the Cerium Oxide Polishing Process for Etched Glass?

Quick Answer: Cerium oxide polishing uses a rare-earth abrasive slurry and a rotary tool or drill with a polishing pad to gently abrade away the damaged glass surface layer. The process typically takes 20 to 60 minutes per square foot and removes 0.001 to 0.005 millimeters of glass to expose undamaged material beneath.
Tools and Materials You Need
| Item | Specification | Approximate Cost | Purpose |
|---|---|---|---|
| Cerium oxide powder | 99% purity, 1-5 micron particle size | $15-$40 per lb | Primary polishing abrasive |
| Variable-speed drill or angle grinder | 500-1,500 RPM range | $40-$120 (if not owned) | Powers polishing pad |
| Felt polishing pad | 3-5 inch diameter, medium density | $8-$25 | Applies and works the cerium slurry |
| Spray bottle with water | Distilled water preferred | $2-$5 | Keeps slurry moist during polishing |
| Blue painter’s tape | Standard 1-inch width | $5-$10 | Protects window frames and edges |
| Microfiber cloths | Glass-safe, lint-free | $10-$20 per pack | Final wipe-down and inspection |
Step-by-Step Cerium Oxide Polishing Process
- Clean the glass thoroughly. Remove all loose dirt, dust, and surface contamination with a pH-neutral glass cleaner. Any grit left on the surface will cause additional scratching during polishing.
- Tape off the frame. Apply painter’s tape around all frame edges. Cerium oxide slurry stains wood, aluminum, and vinyl frames if it dries on them.
- Mix the cerium oxide slurry. Combine cerium oxide powder with distilled water to form a thick paste, roughly the consistency of yogurt. A 3:1 ratio of powder to water works well as a starting point.
- Apply slurry to the pad. Load the felt pad with a generous amount of slurry. Do not use a dry pad on glass — it will scratch rather than polish.
- Begin polishing at low speed. Start at 500 to 800 RPM. Work in overlapping circular motions across the damaged area, keeping the pad flat against the glass surface at all times.
- Keep the surface wet. Mist the glass with distilled water every 30 to 60 seconds. Dry cerium oxide becomes aggressive and can create new scratches or uneven polishing.
- Increase pressure and passes gradually. Moderate downward pressure (roughly 5 to 10 pounds) is effective. Increase pass count rather than pressure for deeper etching.
- Wipe clean and inspect. After every 3 to 5 minutes of polishing, wipe the area clean and check progress. Look at the glass from multiple angles and in different lighting conditions.
- Repeat until haze resolves or plateaus. If clarity improves with each round, continue. If three consecutive sessions produce no improvement, polishing has reached its limit for that damage depth.
- Final clean and assess. Clean all residue with a glass-safe cleaner and inspect in direct sunlight. Remaining haze after thorough polishing indicates damage that has penetrated beyond the polishable depth.
What Speed and Pressure Settings Work Best?
Starting at 800 RPM gives you enough mechanical action to work the abrasive without generating excessive heat. Heat is the enemy of glass polishing — it dries the slurry instantly and creates burn marks. Keep RPMs below 1,500 on flat surfaces.
Pressure matters more than speed. Consistent medium pressure across the full pad face gives uniform results. Tilting the pad or pressing on one edge creates an uneven polish that can introduce distortion into the glass, which is sometimes worse than the original etching.
How Do You Polish Glass in Hard-to-Reach Areas?
Corner areas and sections near frame edges need a smaller pad, typically 2 inches in diameter. For very tight areas, hand polishing with a folded felt cloth and cerium slurry is more controllable than a power tool. Expect hand polishing to take three to five times longer, but the precision is worth it for edge work.
Which Types of Glass Cannot Be Fixed With Polishing?
Quick Answer: Low-E coated glass, severely etched glass with Stage 3 or 4 damage, tempered glass with deep surface penetration, and glass showing iridescent color patterns generally cannot be fixed through polishing. These situations require professional assessment or full glass replacement to restore clarity and function.
Glass Types Where Polishing Causes More Damage
| Glass Type | Why Polishing Fails or Causes Harm | Recommended Action |
|---|---|---|
| Low-E glass | Abrasive removes metallic oxide coating; destroys energy efficiency and warranty | Replace IGU or full pane |
| Tempered glass (deep etching) | Polishing removes the compressed surface layer that provides impact resistance | Replace; do not compromise safety glass |
| Stage 4 chemically etched glass | Pitting depth exceeds the polishable surface layer; clarity never fully returns | Glass replacement |
| Insulated glass units (IGUs) with internal fogging | Etching combined with failed seal requires full IGU replacement regardless | Replace entire IGU |
| Acid-etched decorative glass | Intentional texture may be altered unevenly by polishing | Consult manufacturer before any polishing |
What Does Iridescence Mean for Repairability?
Iridescence — those rainbow-colored patterns visible when light hits the glass at certain angles — signals that the silica network has been disrupted at multiple depth levels. This type of damage typically means the etching has penetrated past the first 0.005 millimeters of surface glass, which is generally the maximum polishable depth.
Mild iridescence sometimes improves with polishing. Heavy iridescence covering more than 20% to 30% of the glass surface almost never does. Set realistic expectations before starting and discuss this threshold with your customer or project manager before committing to a repair attempt.
When Should You Hire a Professional Instead of DIY?
Quick Answer: Hire a professional glass restoration company when dealing with large glass panels over 20 square feet, high-rise or multi-story installations, suspected low-E or specialty glass, Stage 3 to 4 etching severity, or when a construction contractor dispute requires documented professional assessment for insurance or warranty claims.
Professional vs. DIY Glass Restoration Cost Comparison
| Scenario | DIY Cost Range | Professional Cost Range | Best Option |
|---|---|---|---|
| Single window pane, Stage 1-2 etching | $30-$80 (materials) | $150-$300 per pane | DIY viable |
| Multiple windows, Stage 2 etching | $80-$200 (materials + time) | $400-$900 per project | DIY or professional |
| Commercial building, Stage 2-3 etching | Not recommended | $1,000-$8,000+ per project | Professional required |
| Full glass replacement (per pane) | N/A | $200-$900 per pane (standard) | When polishing fails |
What Credentials Should a Glass Restoration Professional Have?
Look for technicians certified by the International Window Cleaning Association (IWCA) or with verifiable commercial glass restoration experience. Ask specifically about their experience with post-construction chemical etching, not just scratch removal. These are different processes.
Request before-and-after photos from similar projects. A credible professional will also perform a test patch on one small area before quoting a full project. Anyone who quotes a full restoration job without testing the glass first should raise a red flag.
Can You Prevent Chemical Etching During Future Construction?

Quick Answer: Yes. Temporary protection film applied before construction begins is the most effective prevention method. Glass protection film blocks alkaline splatter and acidic runoff during the build phase and is removed after construction, leaving glass in original condition without any chemical exposure or physical contact damage.
Prevention Methods Ranked by Effectiveness
- Temporary glass protection film — adhesive film rated for 6 to 12 months of construction exposure; prevents all chemical contact; most effective method available
- Masking and physical barriers — plywood or foam board panels secured over glass during masonry and concrete work phases; prevents splatter but not runoff from above
- Immediate rinse protocol — site crew rinses all glass within 15 minutes of any alkaline product contact; highly effective if consistently followed
- Chemical-resistant window tape — applied along frame edges to prevent concrete and mortar migration into frame-to-glass joints
- Post-pour neutralization — dilute acidic rinse (pH 5 to 6) applied within 30 minutes of concrete splatter contact; reduces etching severity if polishing is not immediately available
What Are the Signs That Glass Replacement Is the Only Option?
Quick Answer: Glass replacement is the only option when polishing fails to improve clarity after three or more sessions, when Stage 4 iridescence covers most of the glass, when the pane is low-E or tempered with deep etching, or when the glass has structural compromise from chemical penetration through the full surface layer.
Red Flags That Signal Replacement Over Repair
- No improvement after three polishing rounds — if cerium oxide polishing sessions produce diminishing returns and then stop improving clarity, the damage exceeds the polishable depth
- Severe iridescence across more than 30% of the pane — widespread rainbow patterns indicate deep silica disruption that polishing cannot reverse
- Visible depth to the pitting — pitting deep enough to catch a fingernail firmly means structural glass damage, not surface damage
- Confirmed low-E coating on damaged surface — even mild etching on the coated surface of low-E glass warrants replacement since polishing destroys the coating
- Glass distortion after polishing attempt — if polishing creates optical distortion (wavy reflections or bent lines), the surface has been polished unevenly and replacement is now necessary
- Construction contractor liability — when insurance or legal claims are involved, document damage with photos and professional assessment before attempting any repair
Frequently Asked Questions
Can you use toothpaste or baking soda to fix etched glass?
No. Toothpaste and baking soda work on very light surface scuffs on some materials, but they lack the abrasive strength needed to level the microscopic pitting caused by chemical etching on glass. Using them on etched glass produces no improvement. Cerium oxide is purpose-formulated for glass polishing at the correct particle size and hardness level.
How long does cerium oxide polishing take on a standard window?
A standard residential window pane with Stage 1 to 2 etching typically takes 30 to 90 minutes to polish. Stage 3 etching on the same pane can take 2 to 4 hours with multiple sessions. Larger commercial panels scale proportionally. Professional technicians with commercial-grade equipment complete the same work significantly faster.
Will polished glass look exactly like new glass?
For Stage 1 and Stage 2 etching, polished glass typically achieves 90% to 98% of original clarity. Slight residual haze is possible in areas with deeper pitting. Stage 3 repairs may leave subtle optical variation visible in certain lighting conditions. Full optical clarity restoration is most reliable when repair starts within 30 to 60 days of the etching event.
Does chemical etching affect the structural strength of glass?
Mild to moderate chemical etching primarily affects optical clarity, not structural integrity. However, severe Stage 4 etching that penetrates deep into tempered glass compromises the compressed surface layer that gives tempered glass its strength. A structurally compromised tempered glass pane should be replaced, not polished, as it may shatter under normal loading conditions.
Can etching damage happen on interior window surfaces?
Yes, though it’s less common. Interior etching typically comes from alkaline cleaning products, plaster spray, or concrete block dust exposure during interior finishing work. The polishing repair process is identical. The main difference is access — interior polishing is easier on small panes but harder on large fixed units where you can’t reach the center of the glass safely.
Is cerium oxide safe to use around window seals and gaskets?
Cerium oxide slurry is mildly abrasive and can degrade rubber gaskets and silicone seals if worked directly against them repeatedly. Keep the polishing pad at least one inch from all seals and gaskets. Tape off these areas before polishing. After finishing, wipe any cerium residue from seals immediately with a damp cloth to prevent long-term surface degradation.